Basket
Your Basket
Total
Your basket is currently empty
Continue Shopping
SAVE
UP TO
£170
00
DAYS
:
00
HOURS
:
00
MINUTES
:
00
SECONDS
Glide 2
Register Your Product
You can register your Vax product on the Vax website registrations page.
Register your product
Quick links:
How to videos and documents
Useful video and PDF guides, showing you how to use, maintain and fix your Vax product.
Maintenance
Here is what you can do to keep your appliance performing at its best.
Cleaning the filter and separator
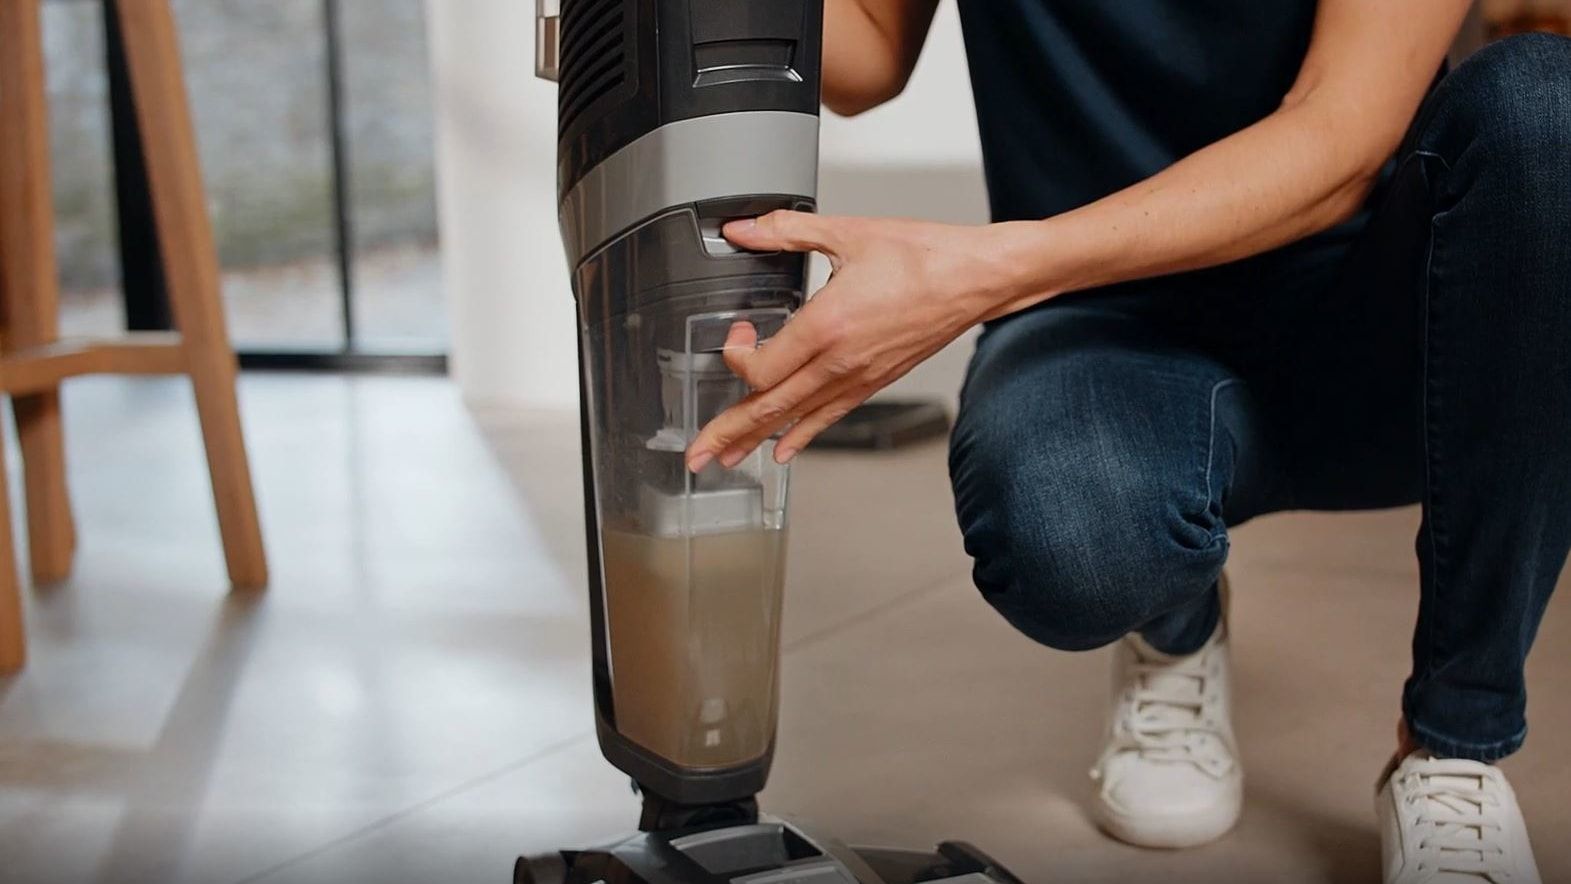
Press down the dirty water tank release button and pull to remove.
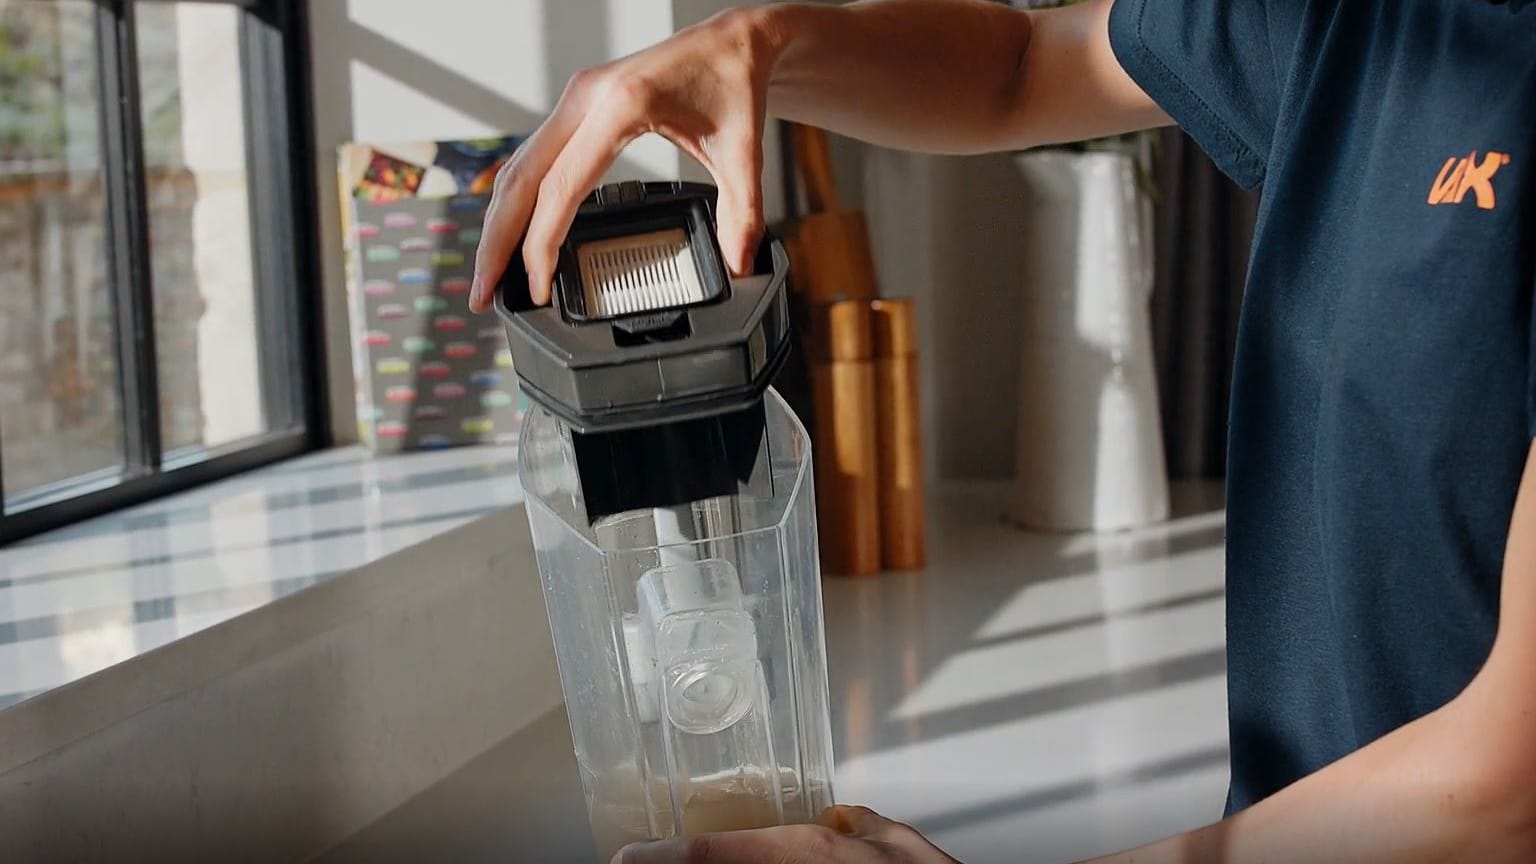
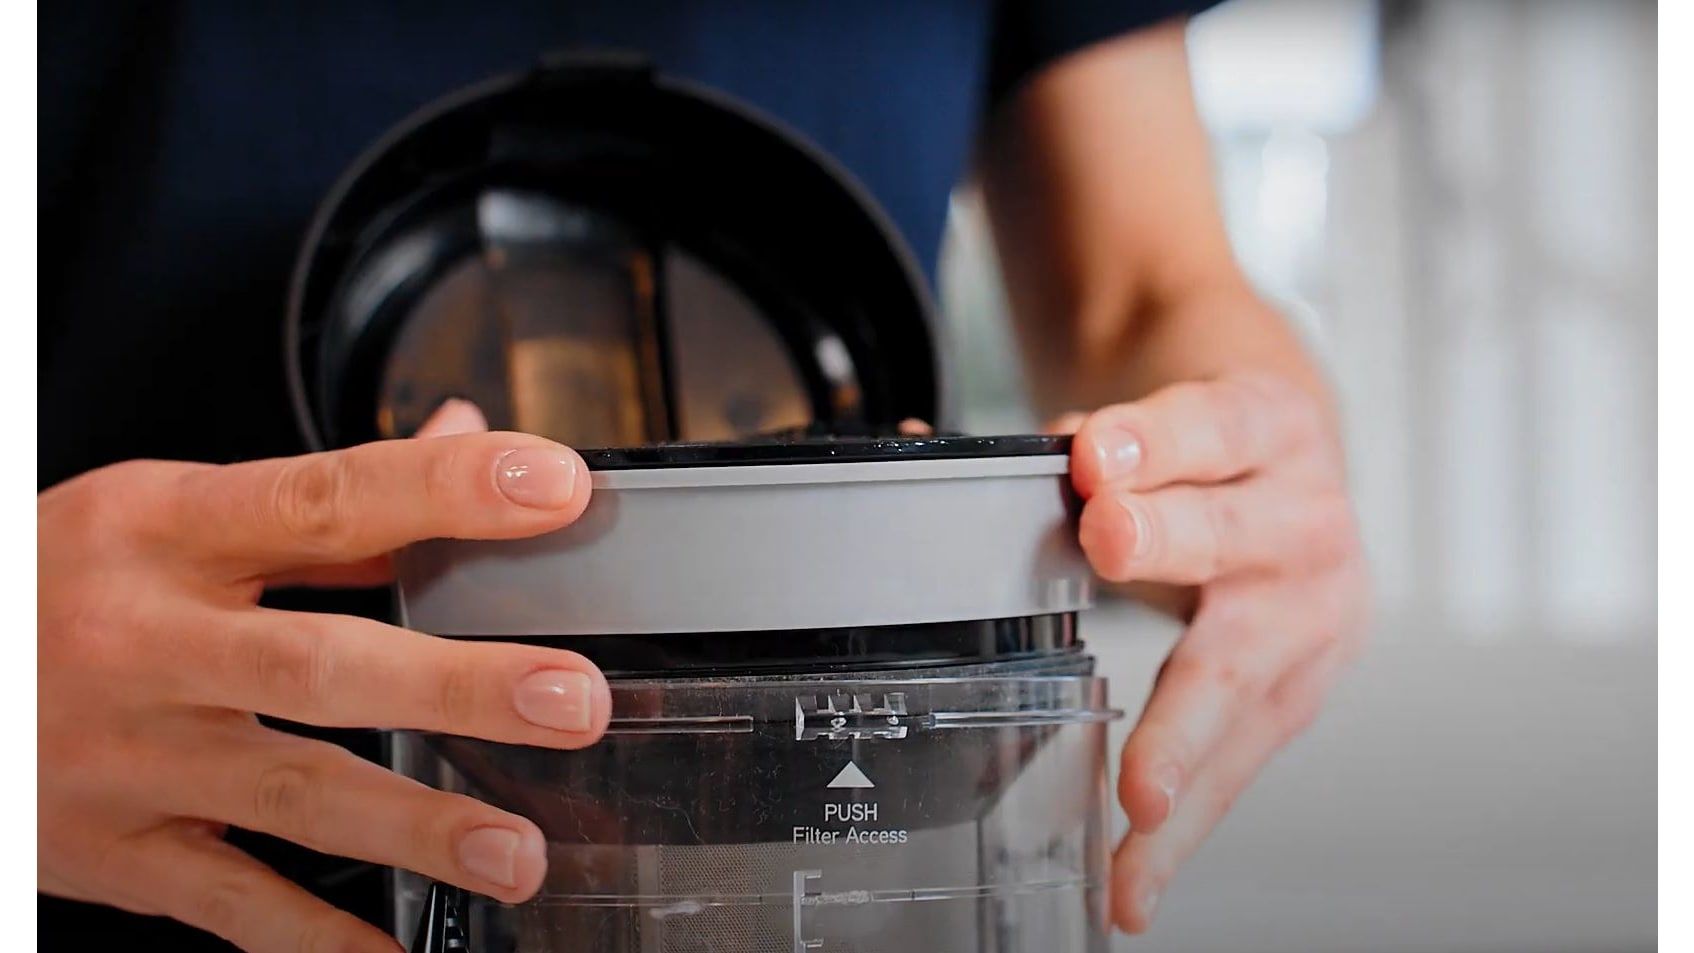
Hold the dirty water tank and pull the lid upwards to remove.
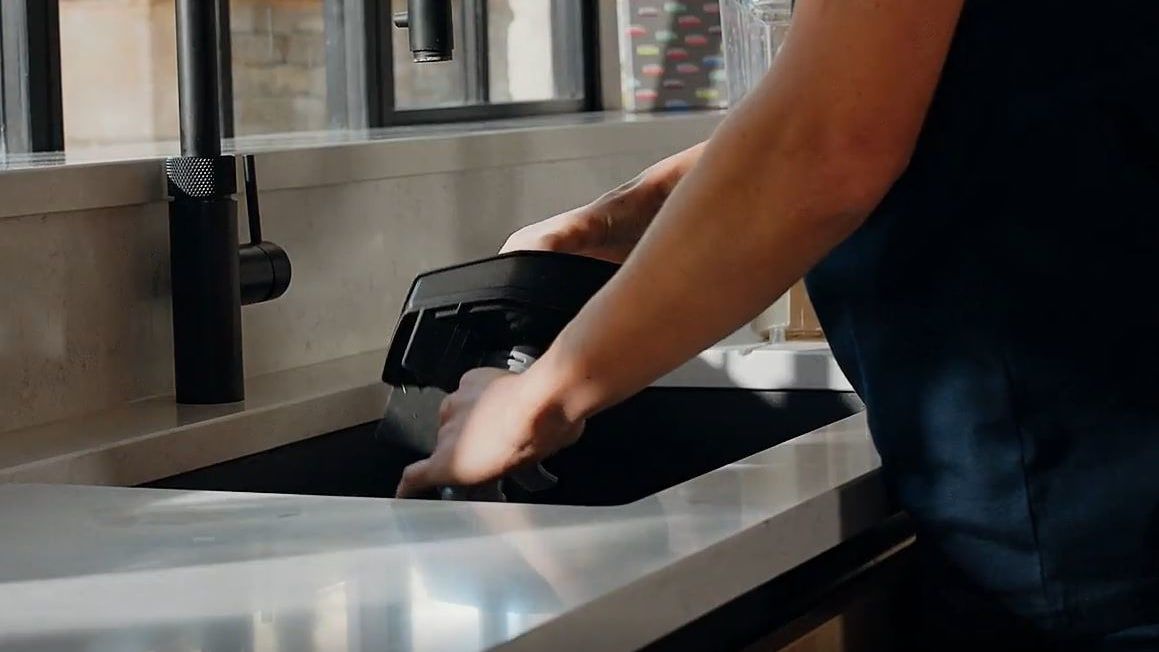
Twist the separator clockwise to release from the lid.
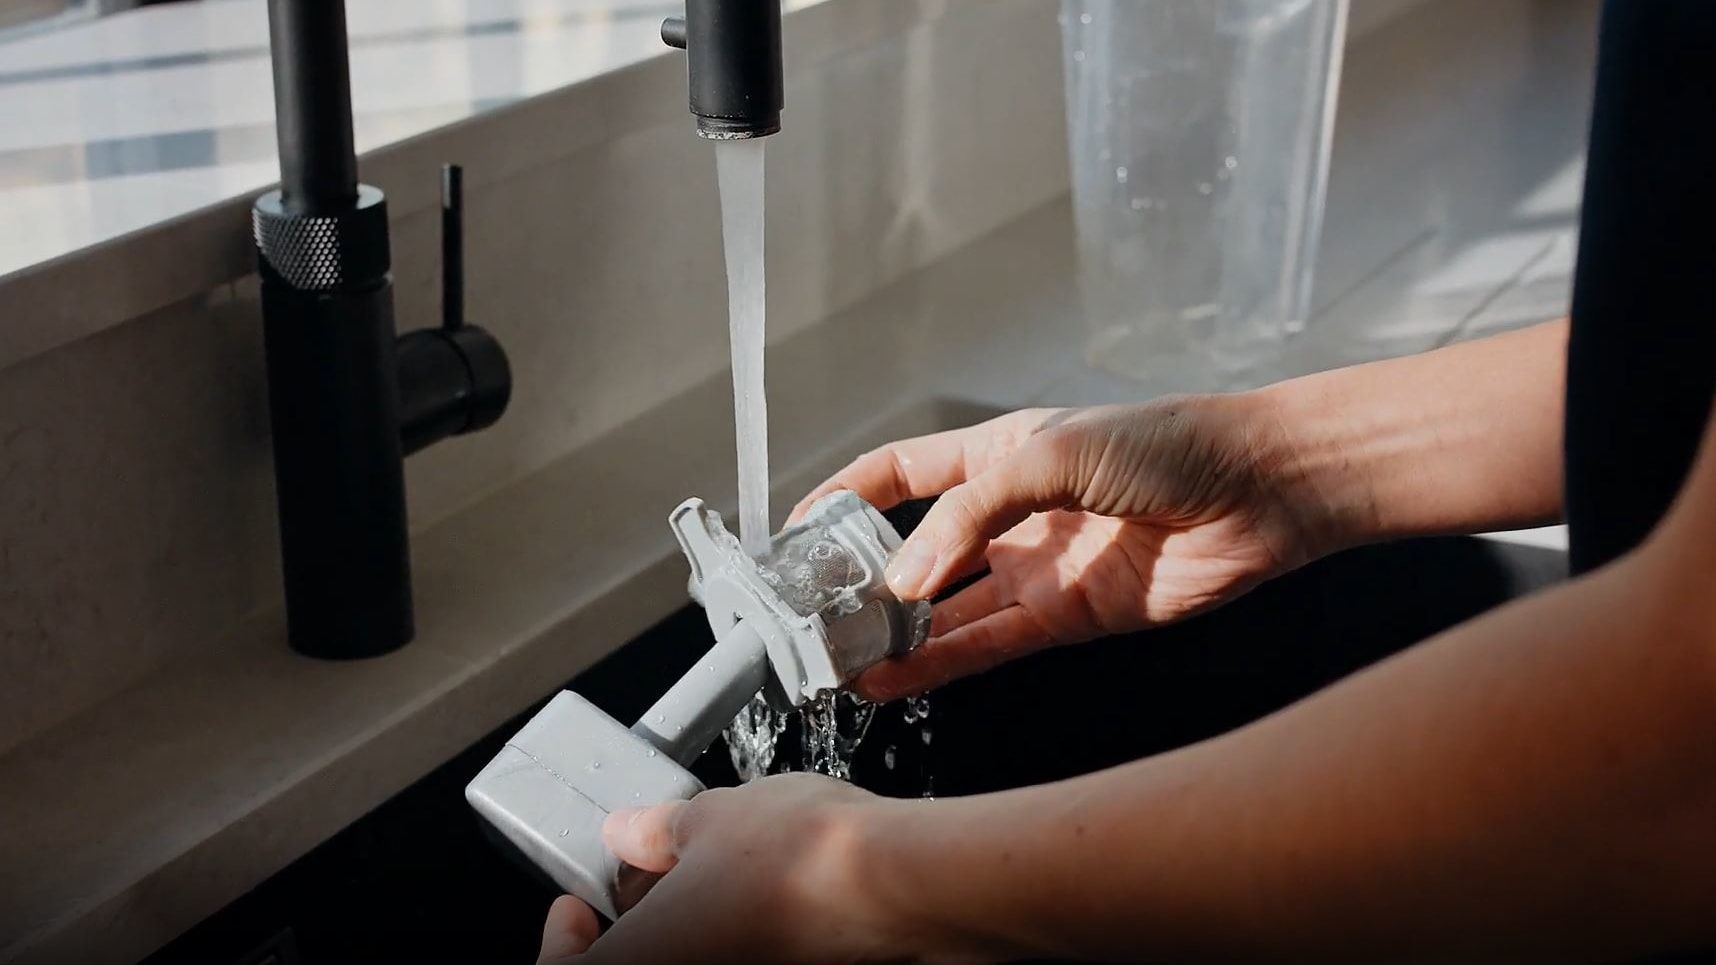
Wash the separator mesh under running water (40˚ max) to remove any dirt and debris.
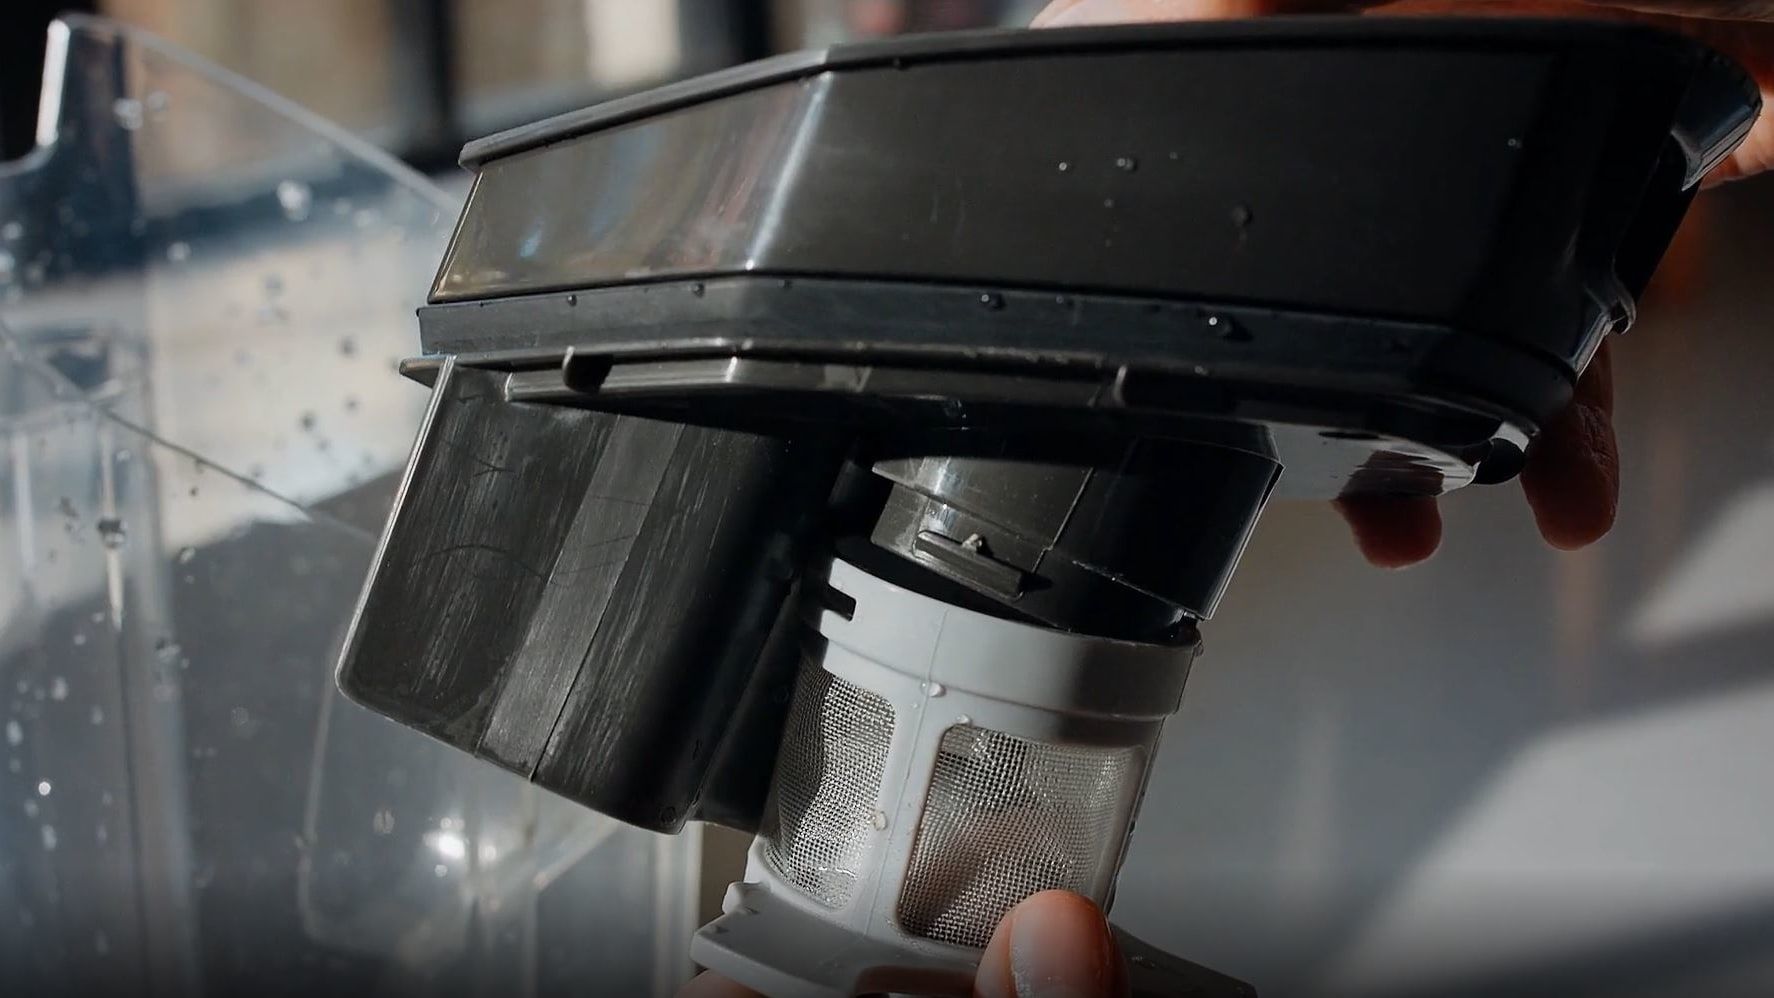
To refit, line up the separator tab with the lid tab and twist anticlockwise to lock.

Pull the tab on the bottom of the filter to remove.

Wash the filter under running water (40°C max). Leave for at least 24hrs or until fully dry before refitting.
Checking for blockages

Remove both tanks.
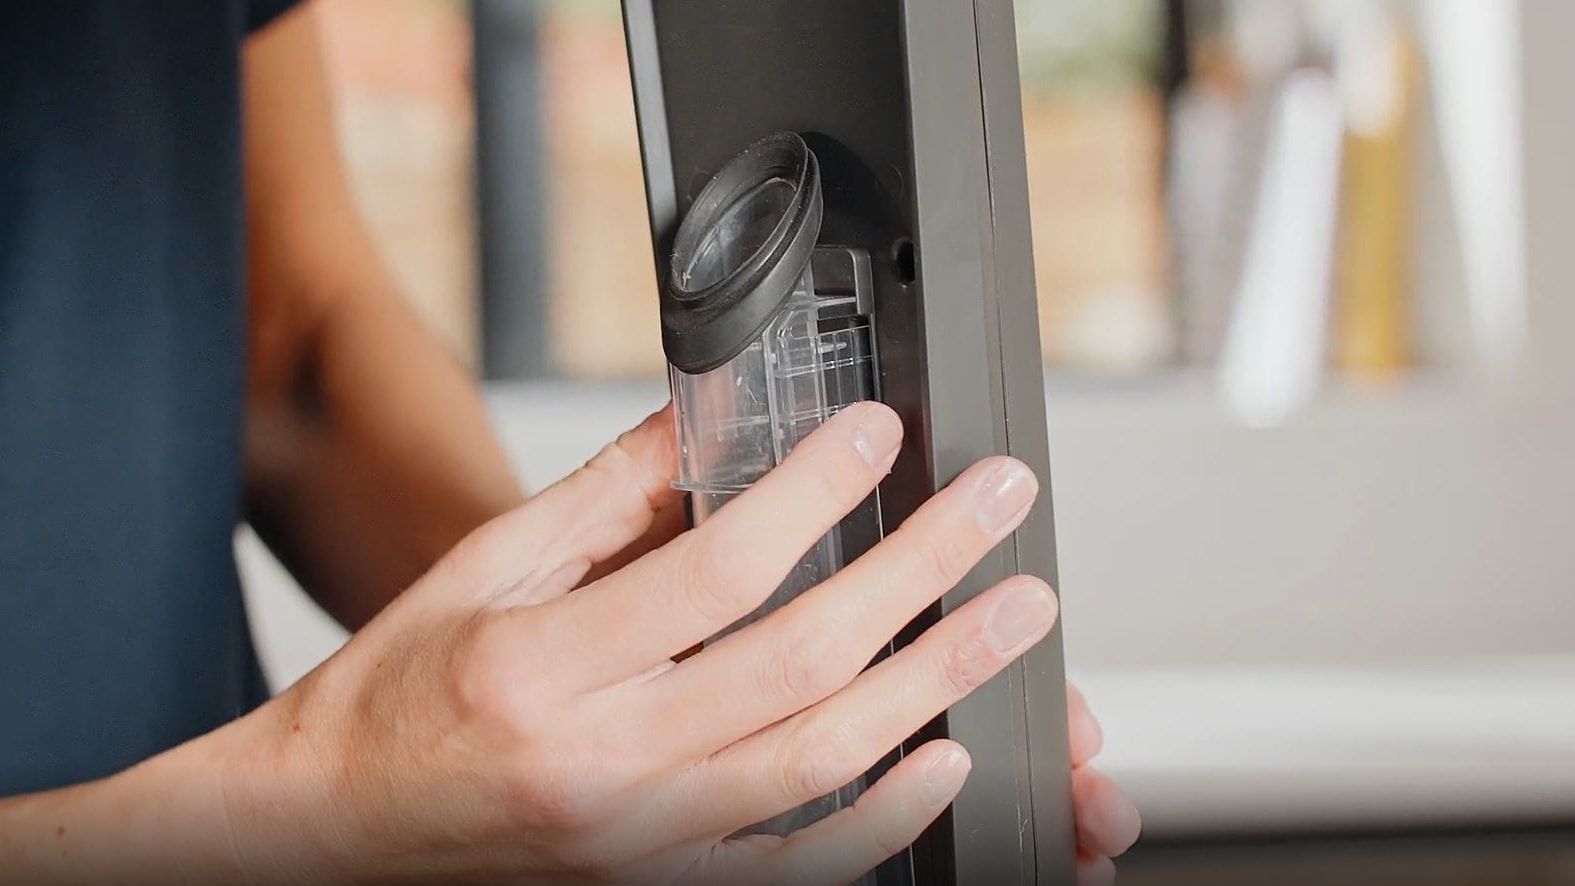
Press the inlet tube release clips and pull to remove.
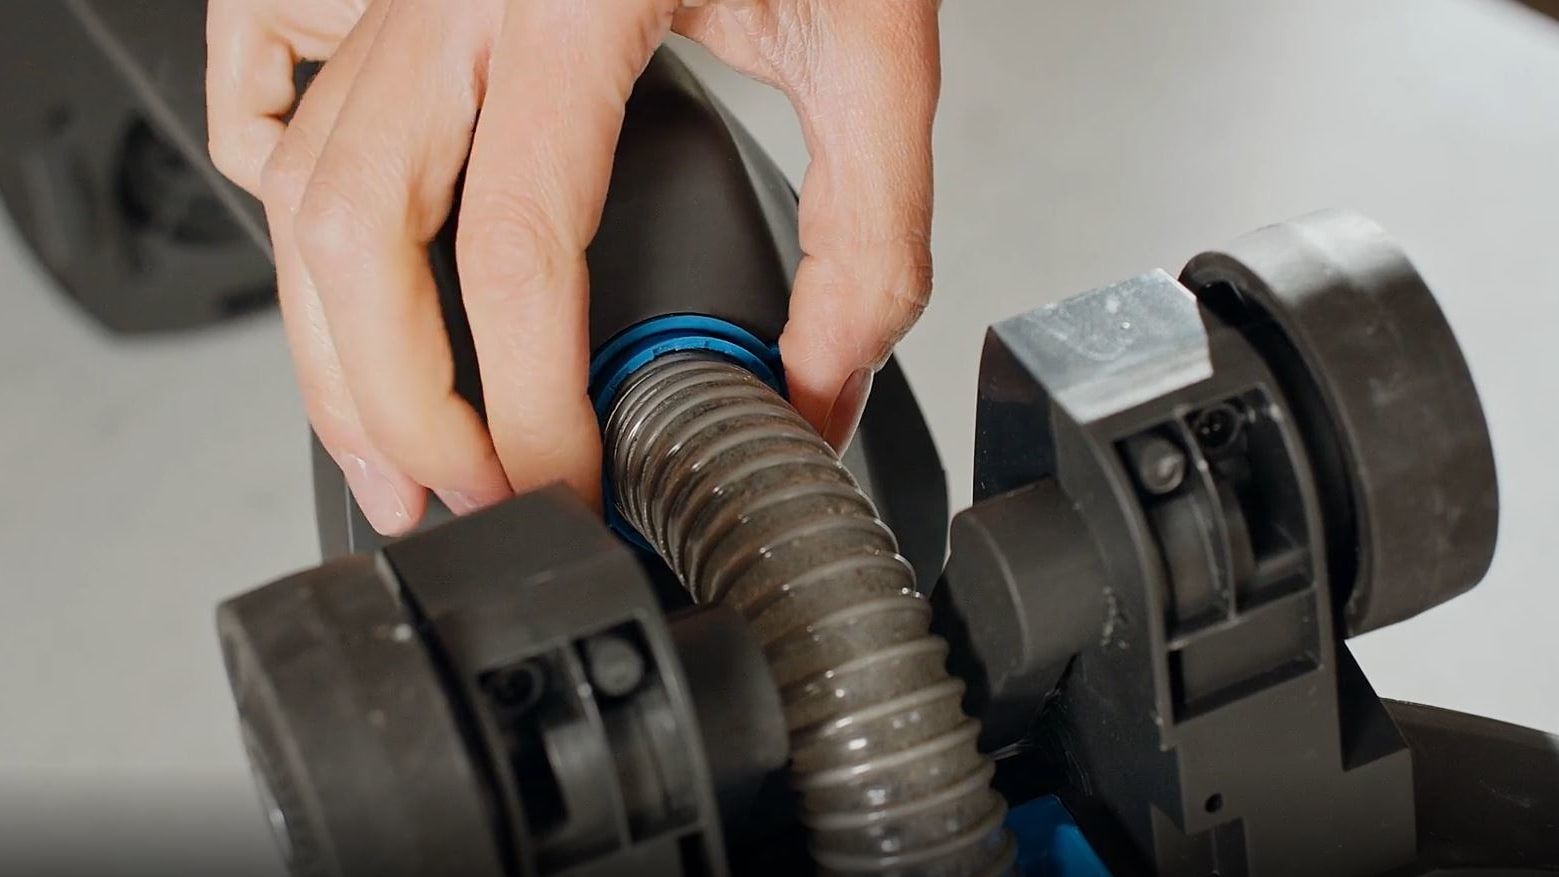
Lie the machine on its front. Squeeze and pull to release the hose from the main machine.
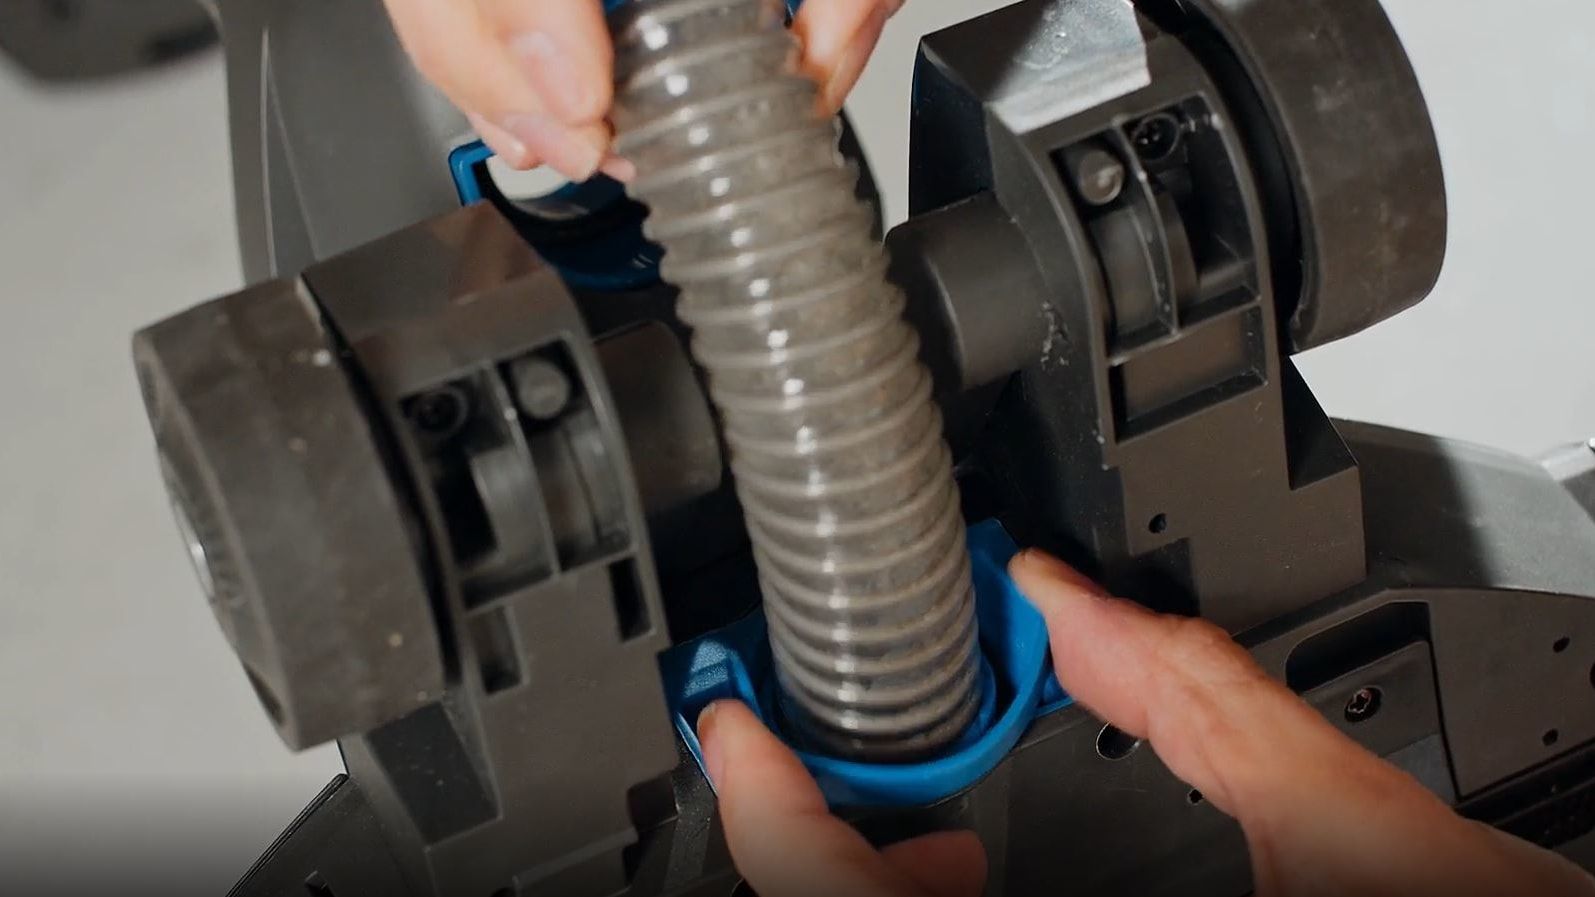
Squeeze and pull to release the other end of the hose from the floorhead.
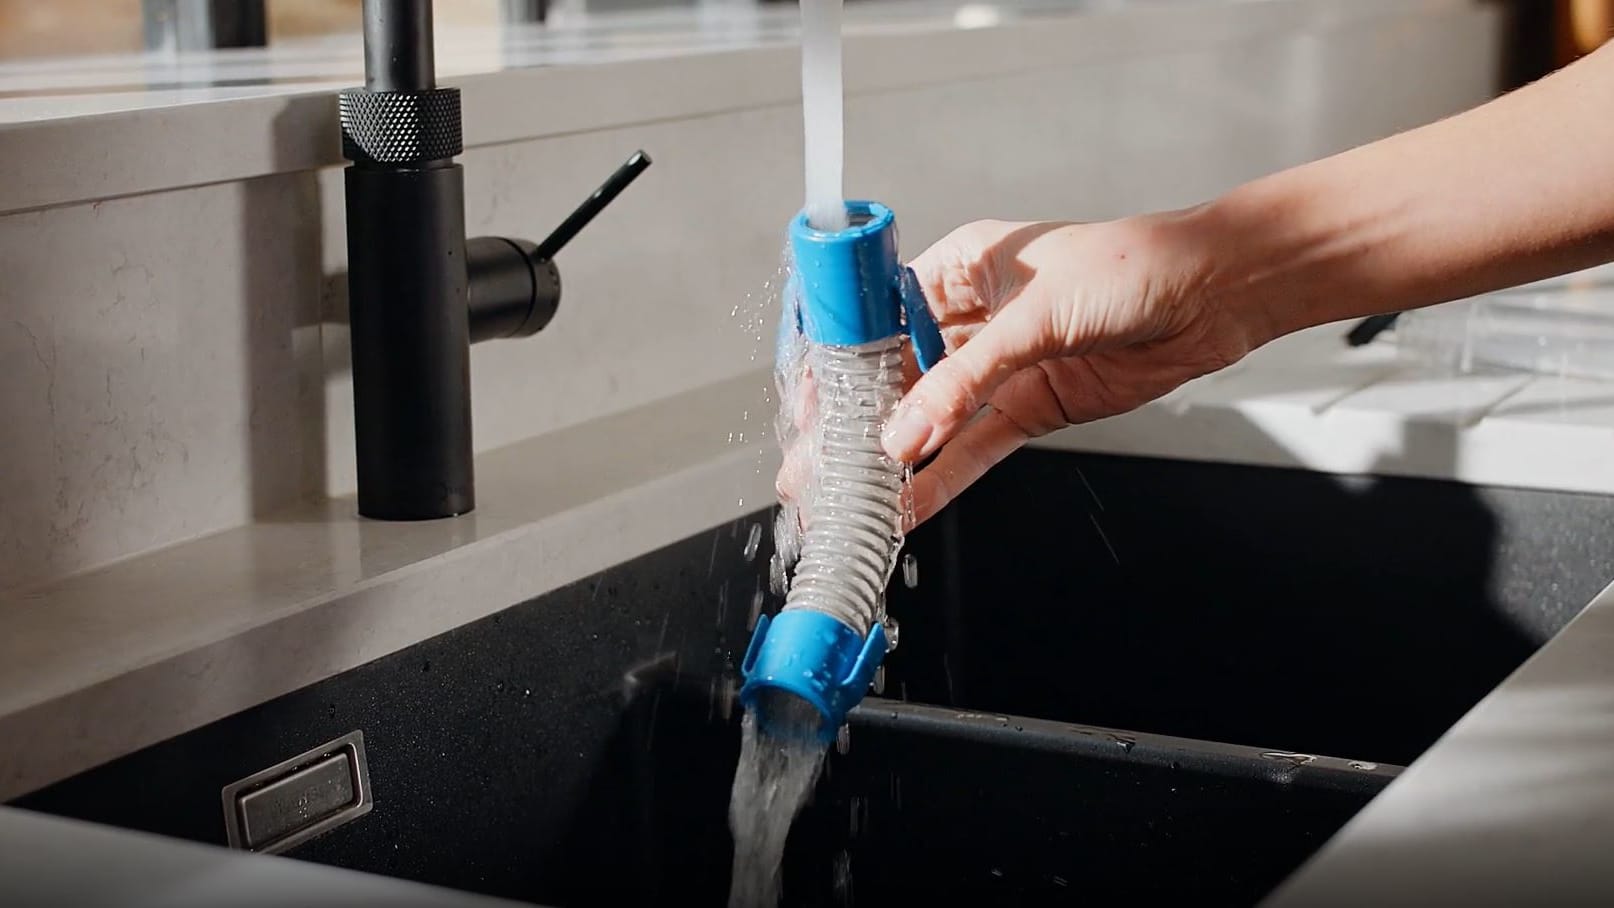
Rinse the hose and inlet tube in water (40˚C max) to remove any dirt and debris.
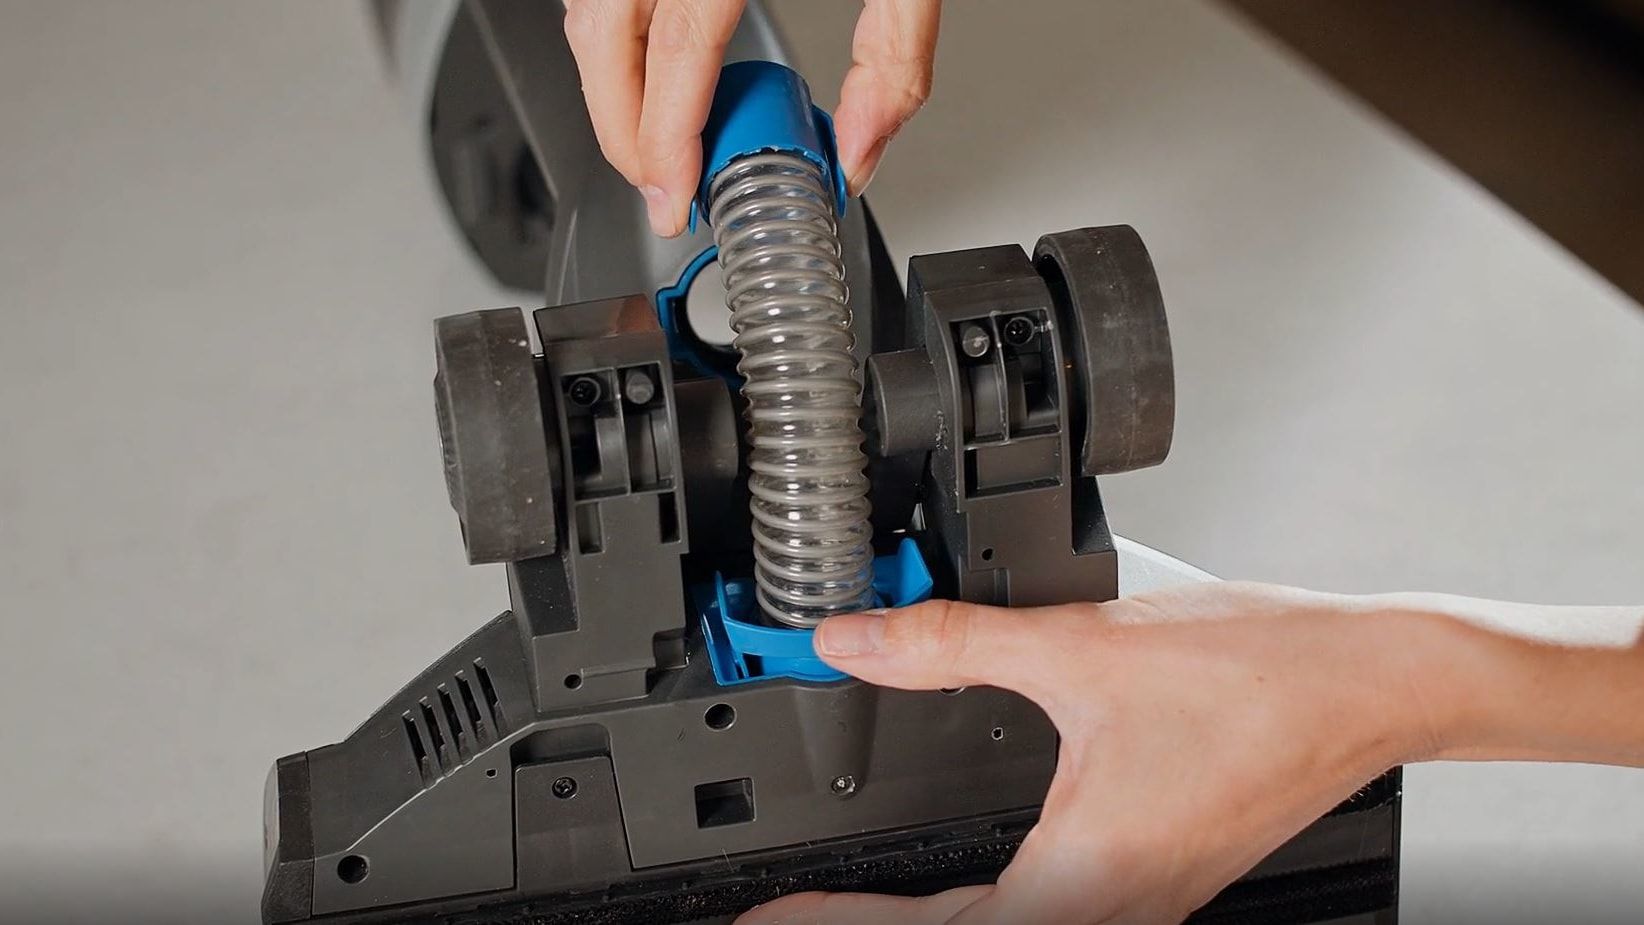
Clip the bottom part of the hose into the floorhead.
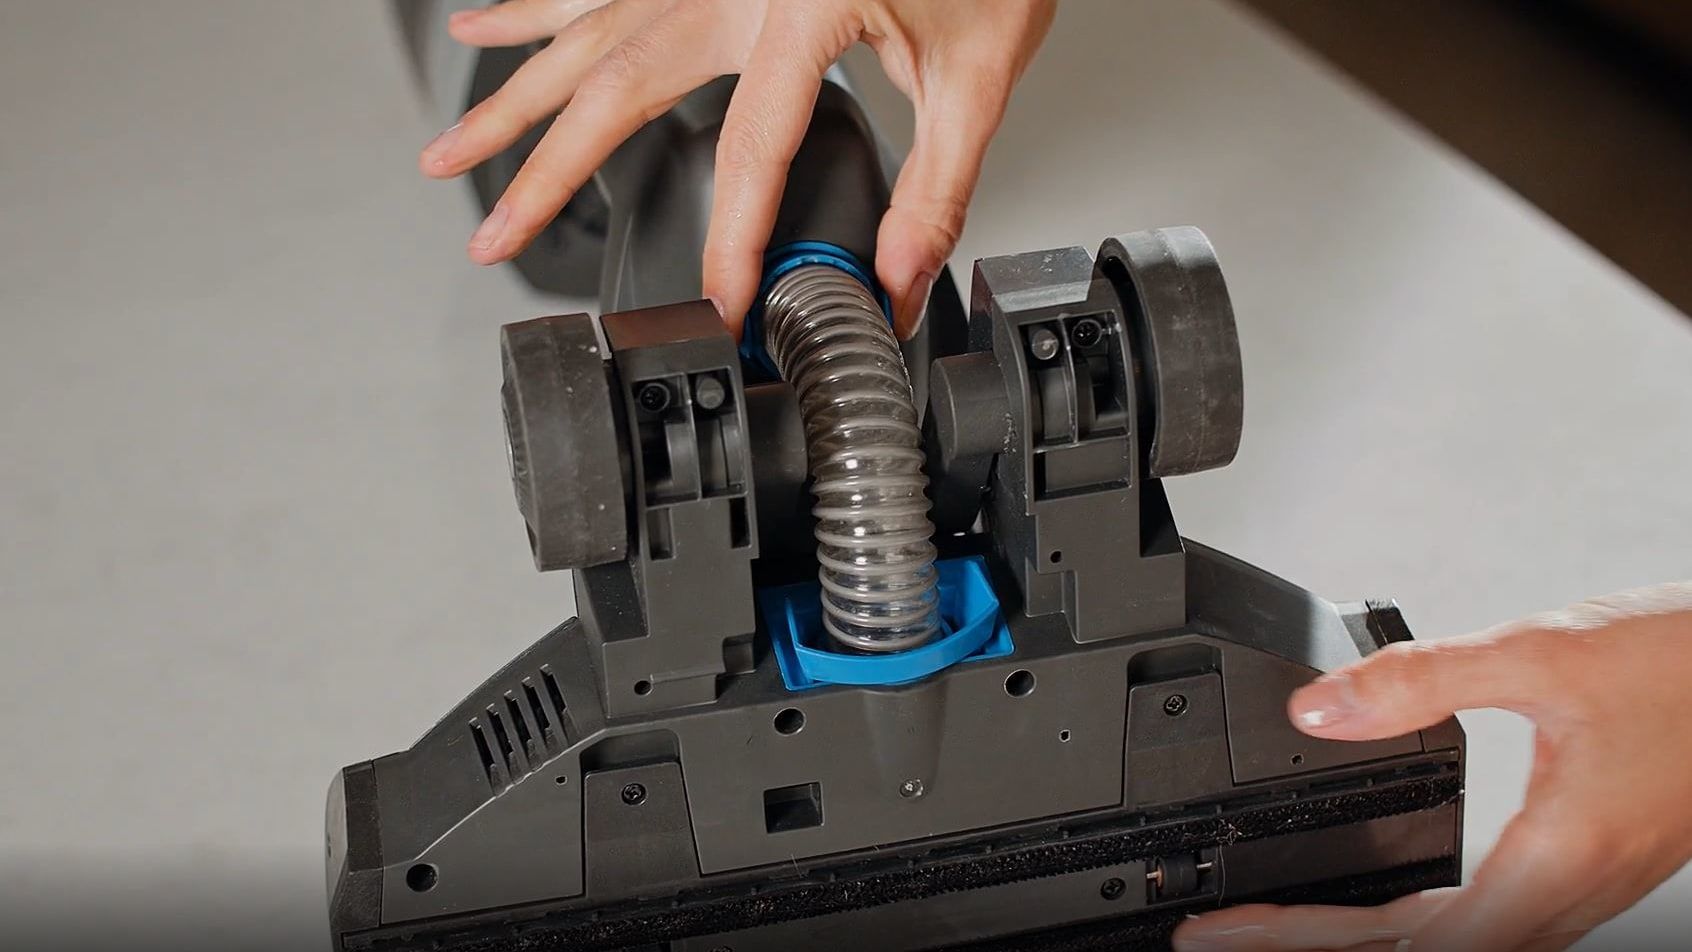
Refit the top of the hose into the machine until it clicks into place.
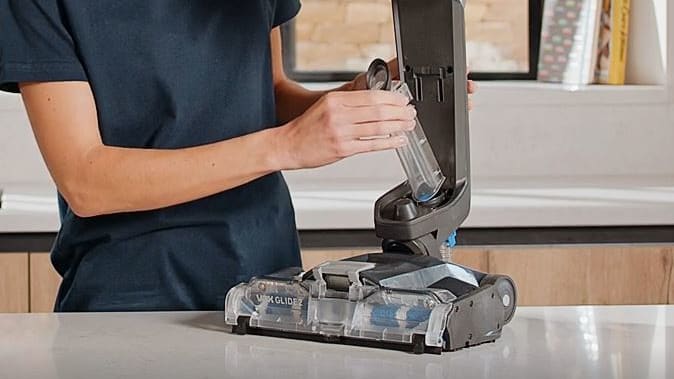
To refit the tube line up the base of the tube to the machine and push back until it clicks into place.
Emptying and cleaning the dirty water tank

Press down the dirty water tank release button and pull the tank to remove.

Hold the dirty water tank and pull the lid upwards to remove.
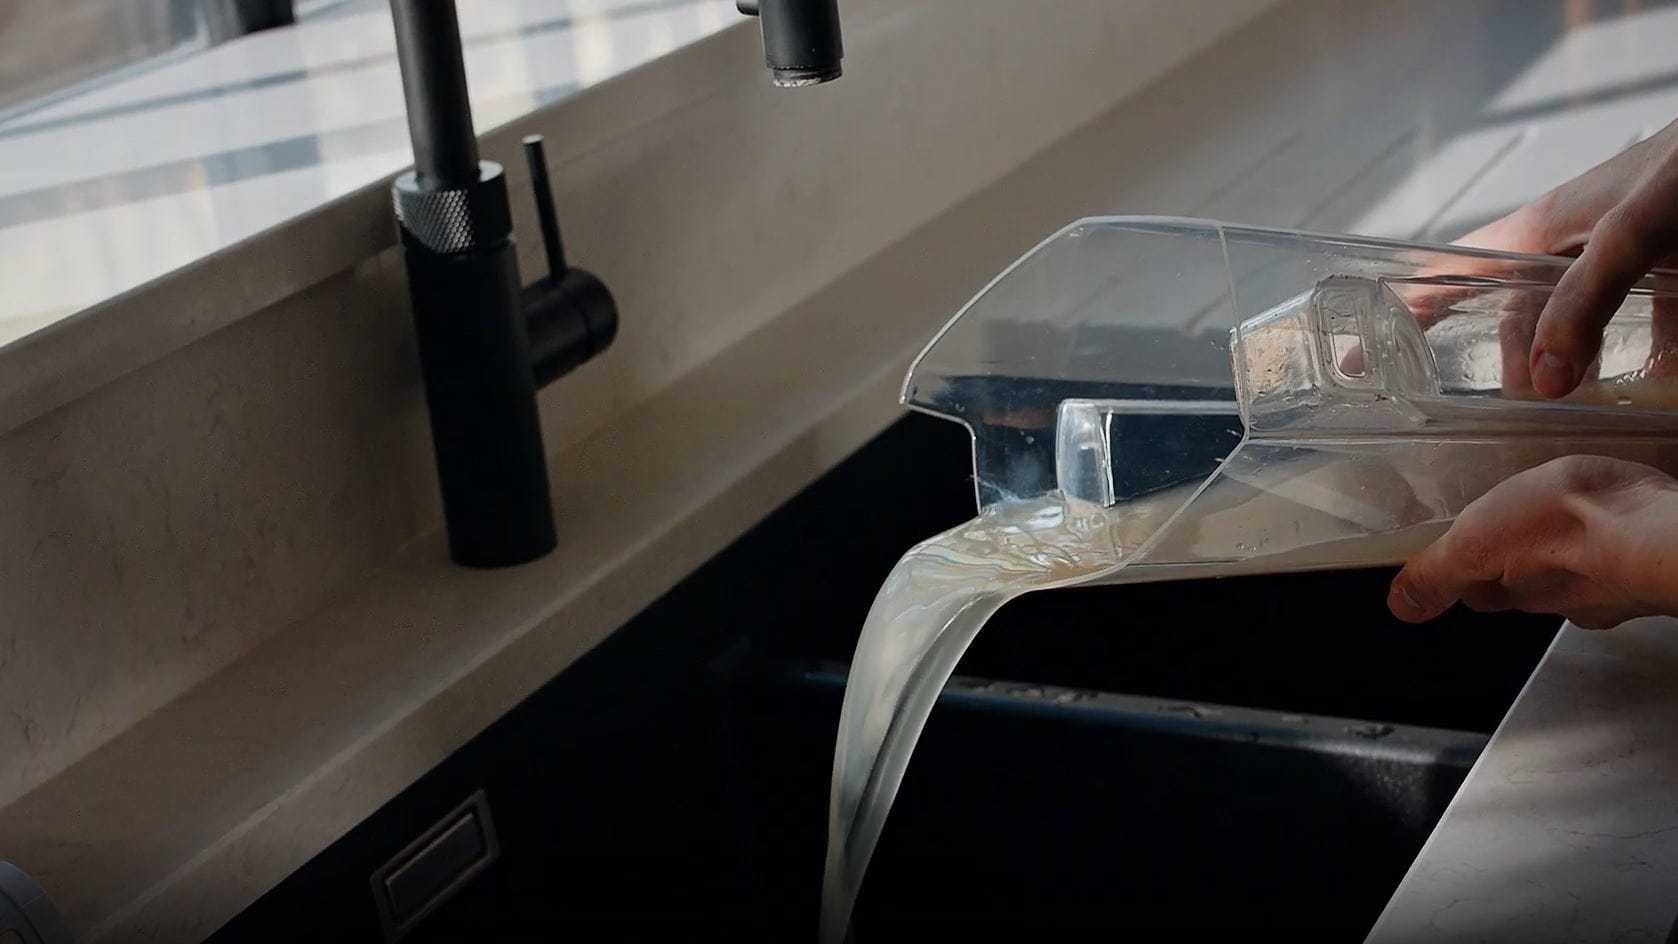
Empty the dirty water over a sink.
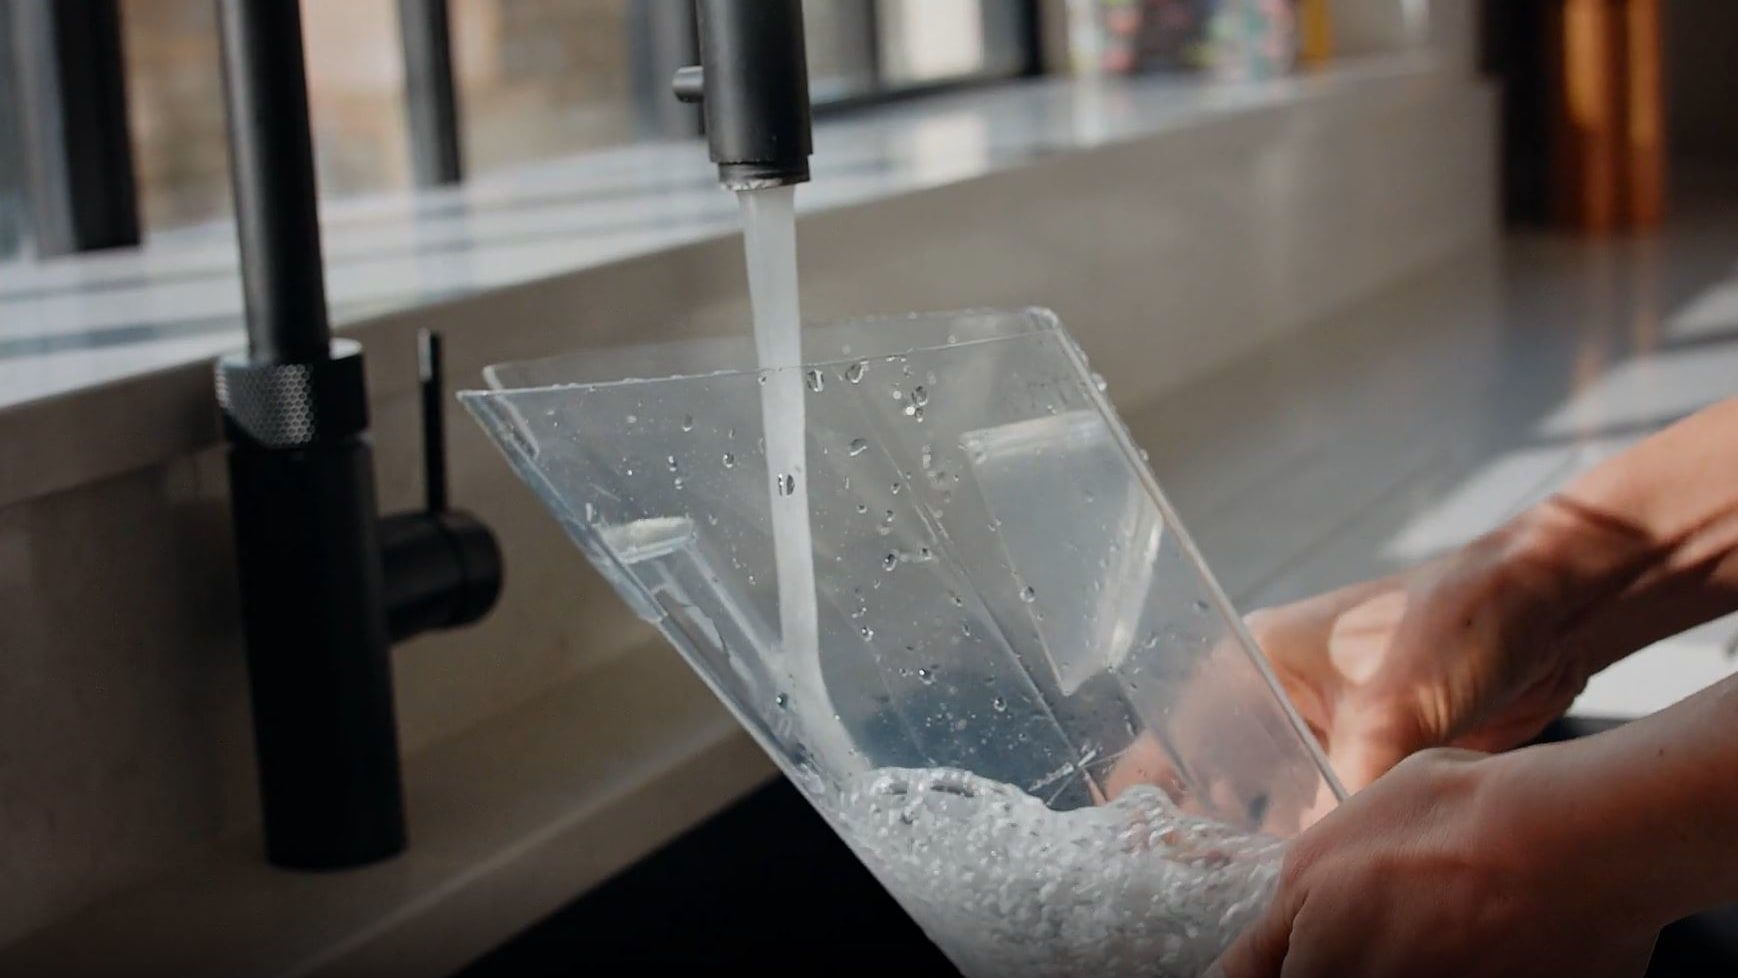
Rinse the tank and separator under water (max 40°C) to remove dirt/debris.
Using self clean mode

Empty the dirty water tank over a sink.
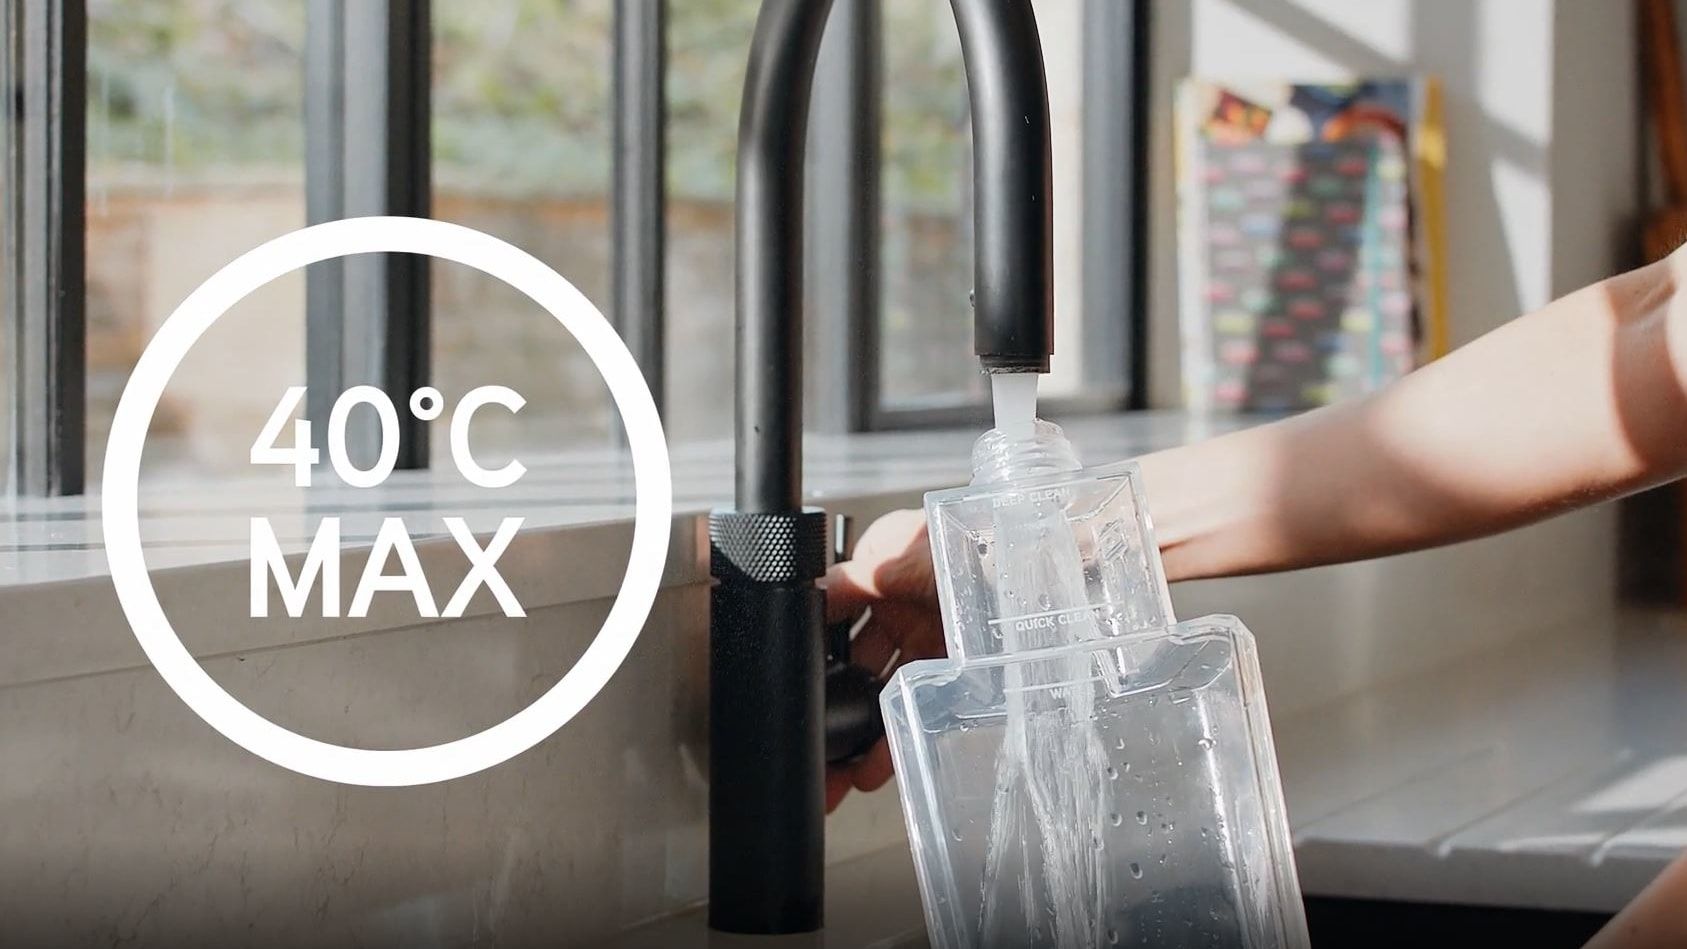
Fill the clean water tank up to the small area clean marker with warm water (40˚ max) and replace the cap and refit the tank on to the machine.
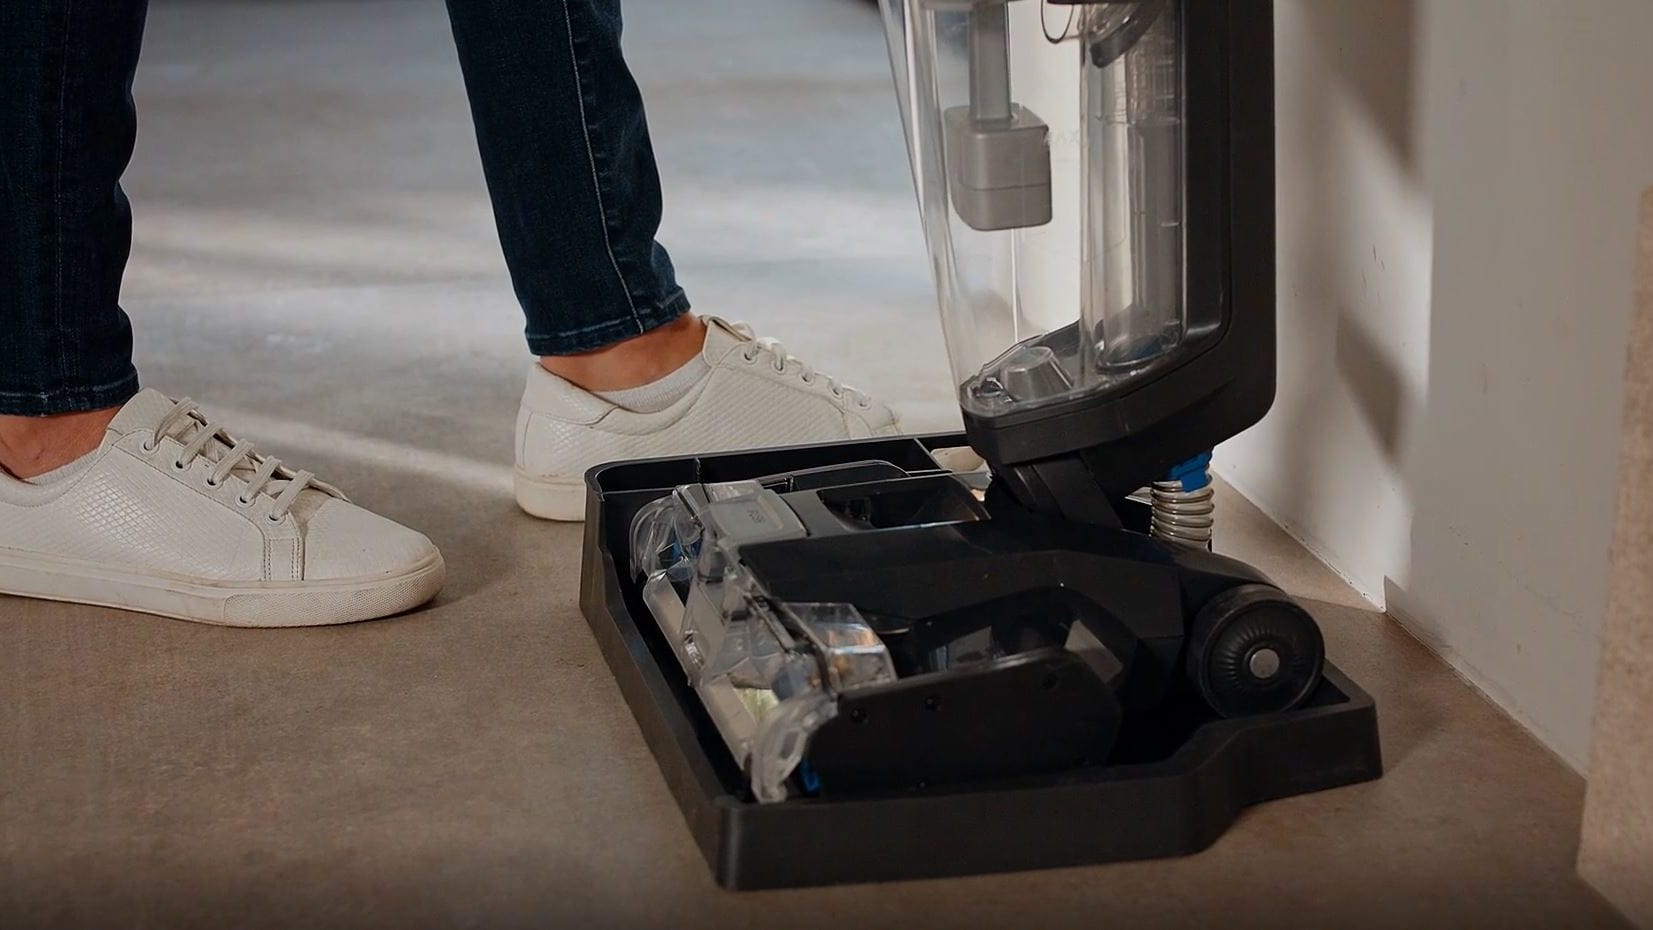
Stand the machine upright in the rinse/storage tray.
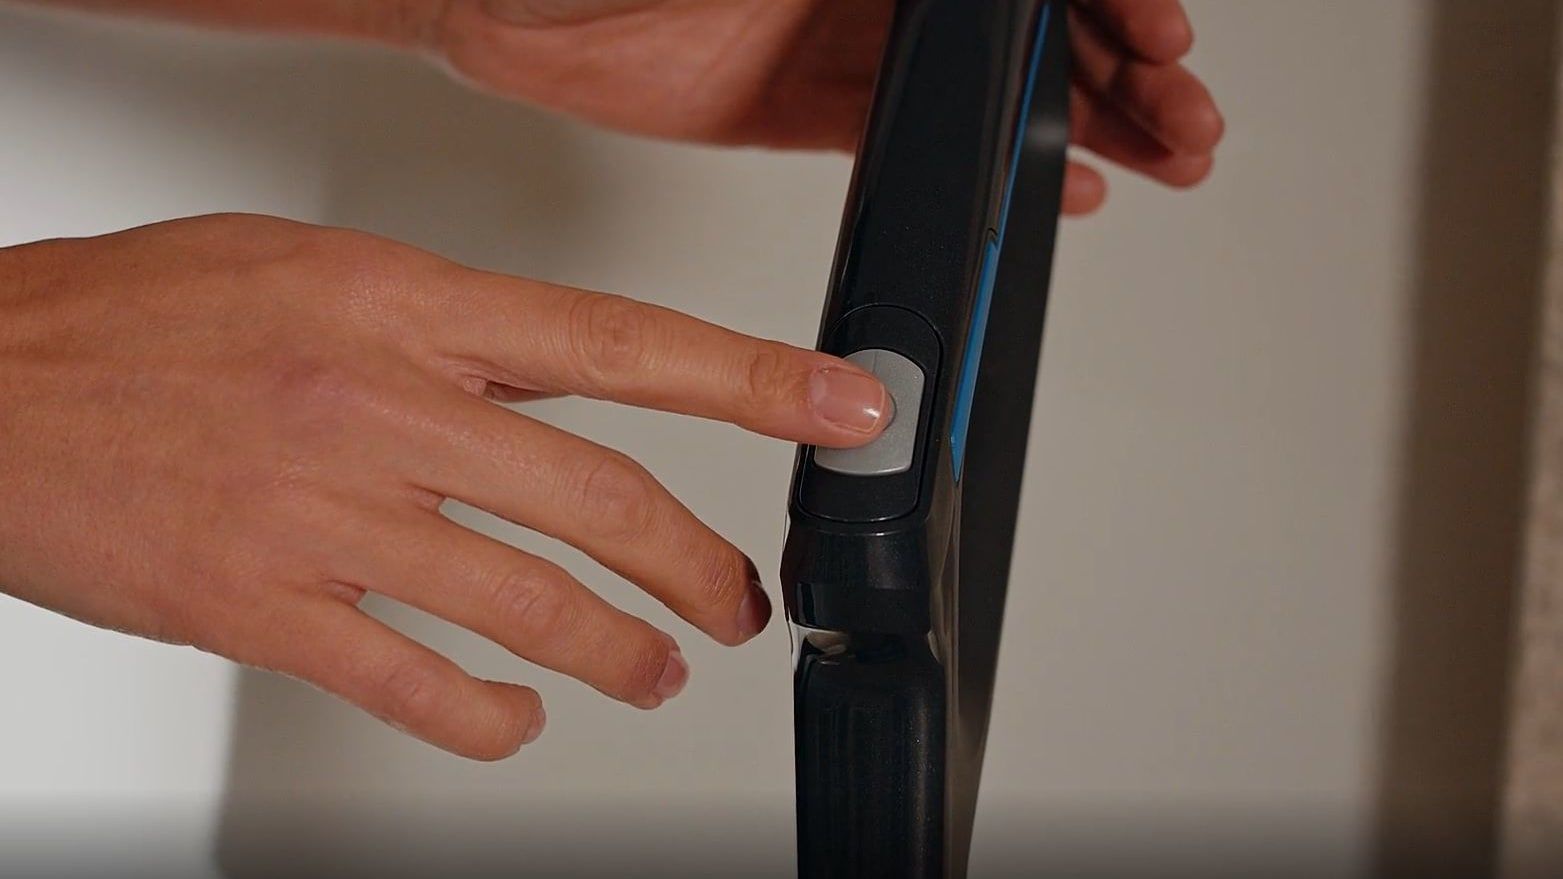
Switch the machine on. Do not recline the machine.
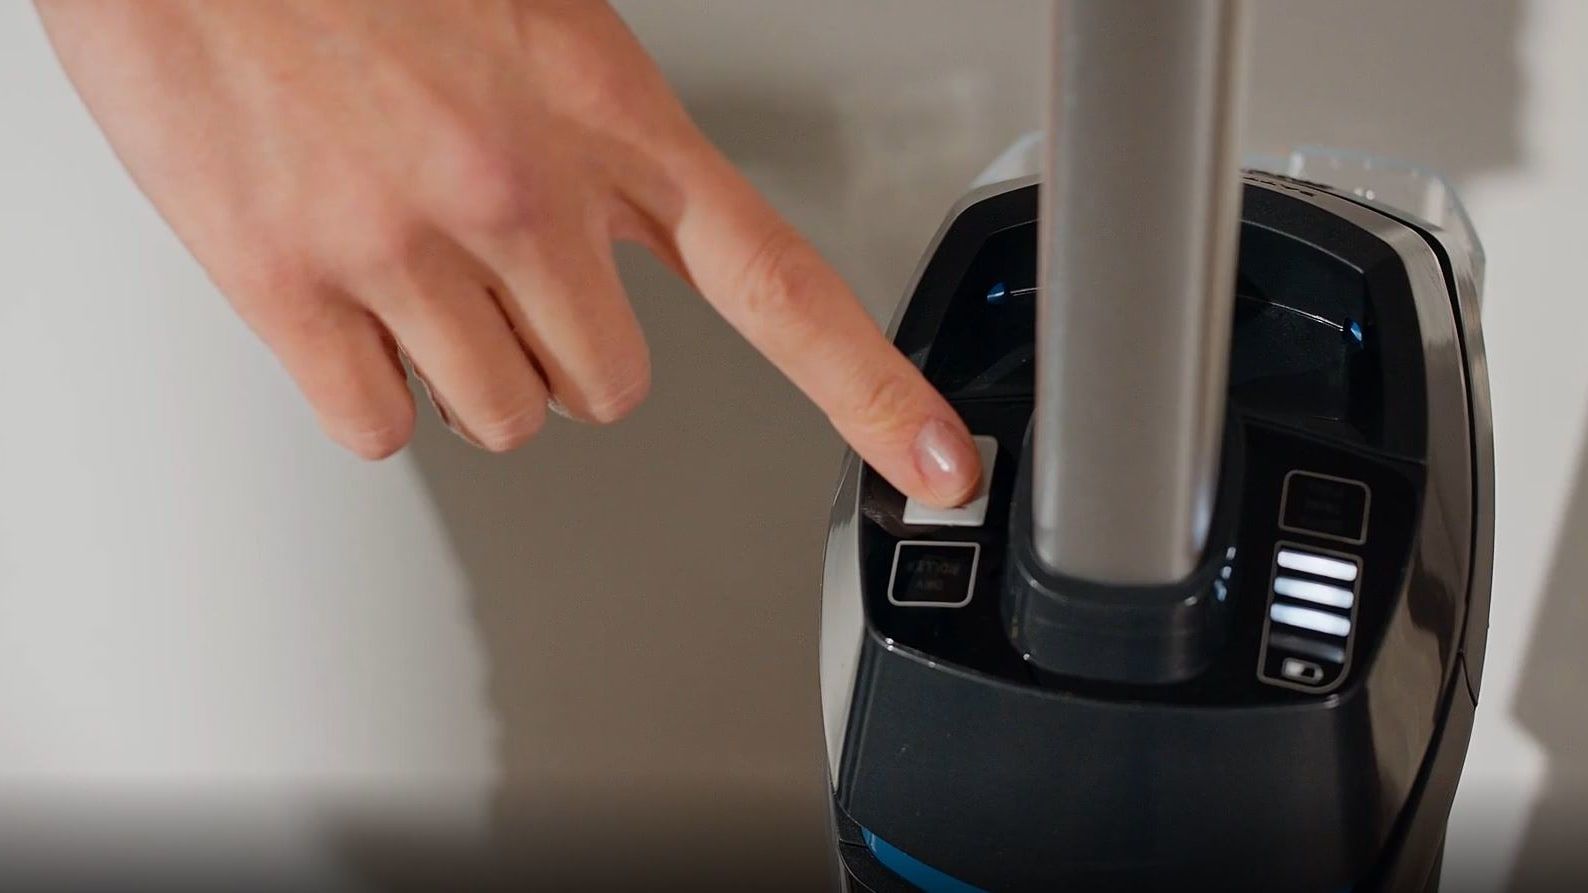
Press the SELF CLEAN button within 5 seconds of switching the machine on to activate. The self clean button will flash.
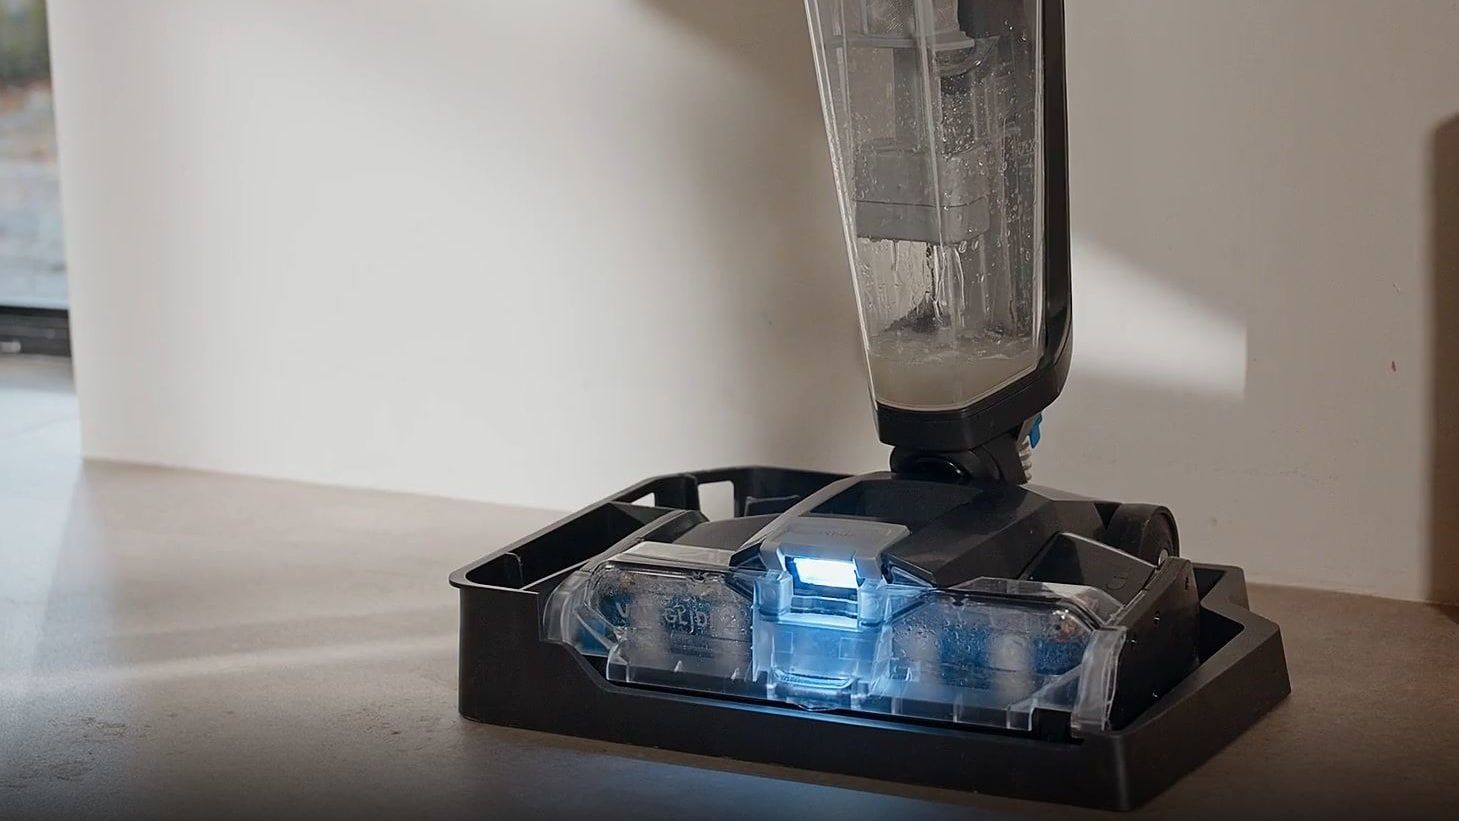
The brushrolls will spin and water will automatically be released. The self clean cycle takes 25 seconds.
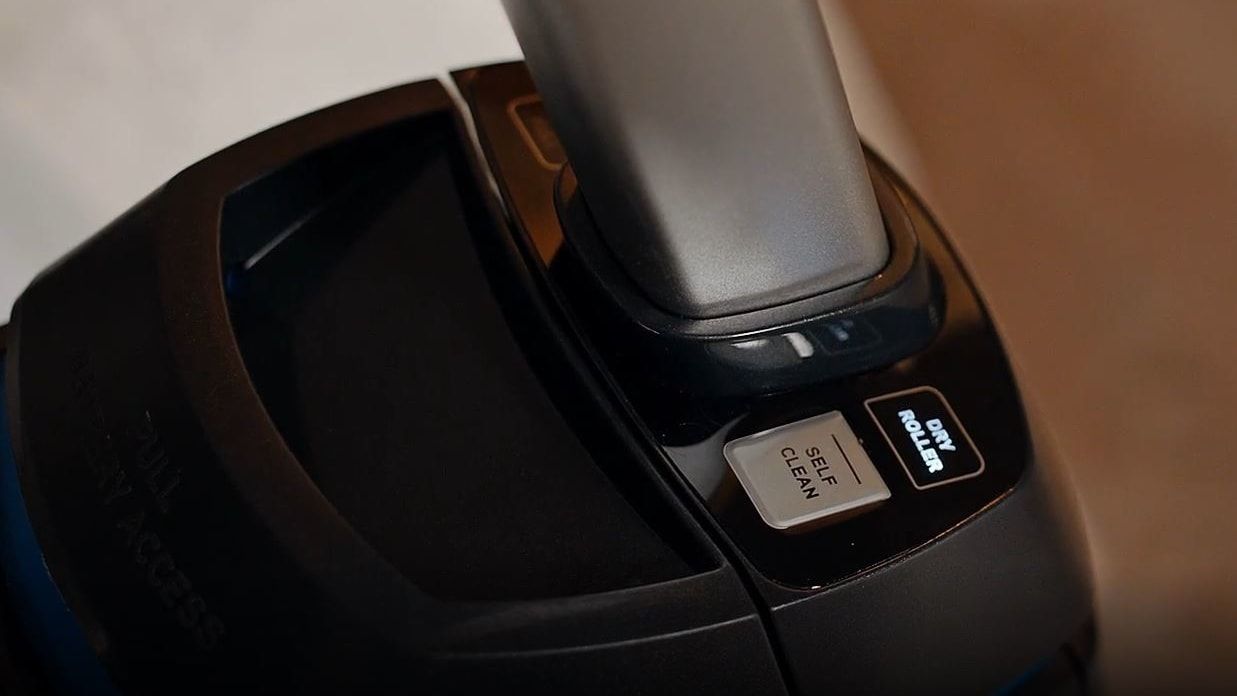
The machine will automatically change to DRY ROLLER mode before finishing and switching off. To stop the self clean mid cycle press the SELF CLEAN or ON/OFF button.

Empty the dirty water tank and any remaining water left in the water/solution tank over a sink.

Rinse the tank and separator under water (max 40°C) to remove dirt/debris.
Cleaning the brushrolls
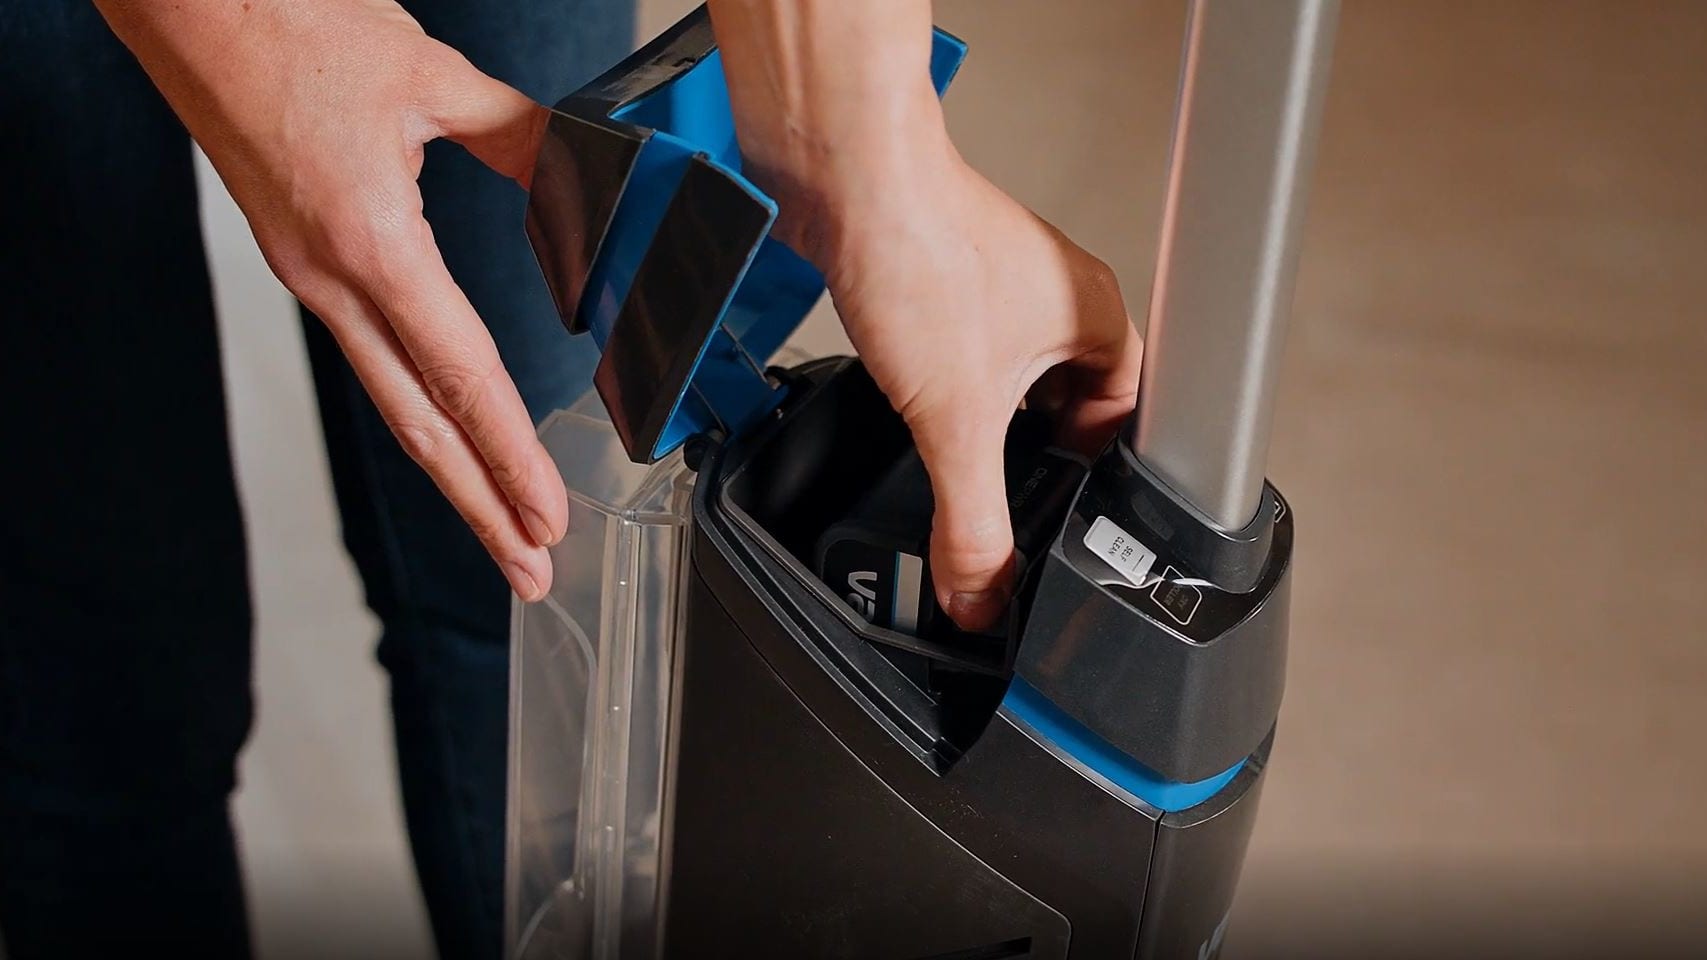
Remove the battery from the machine.
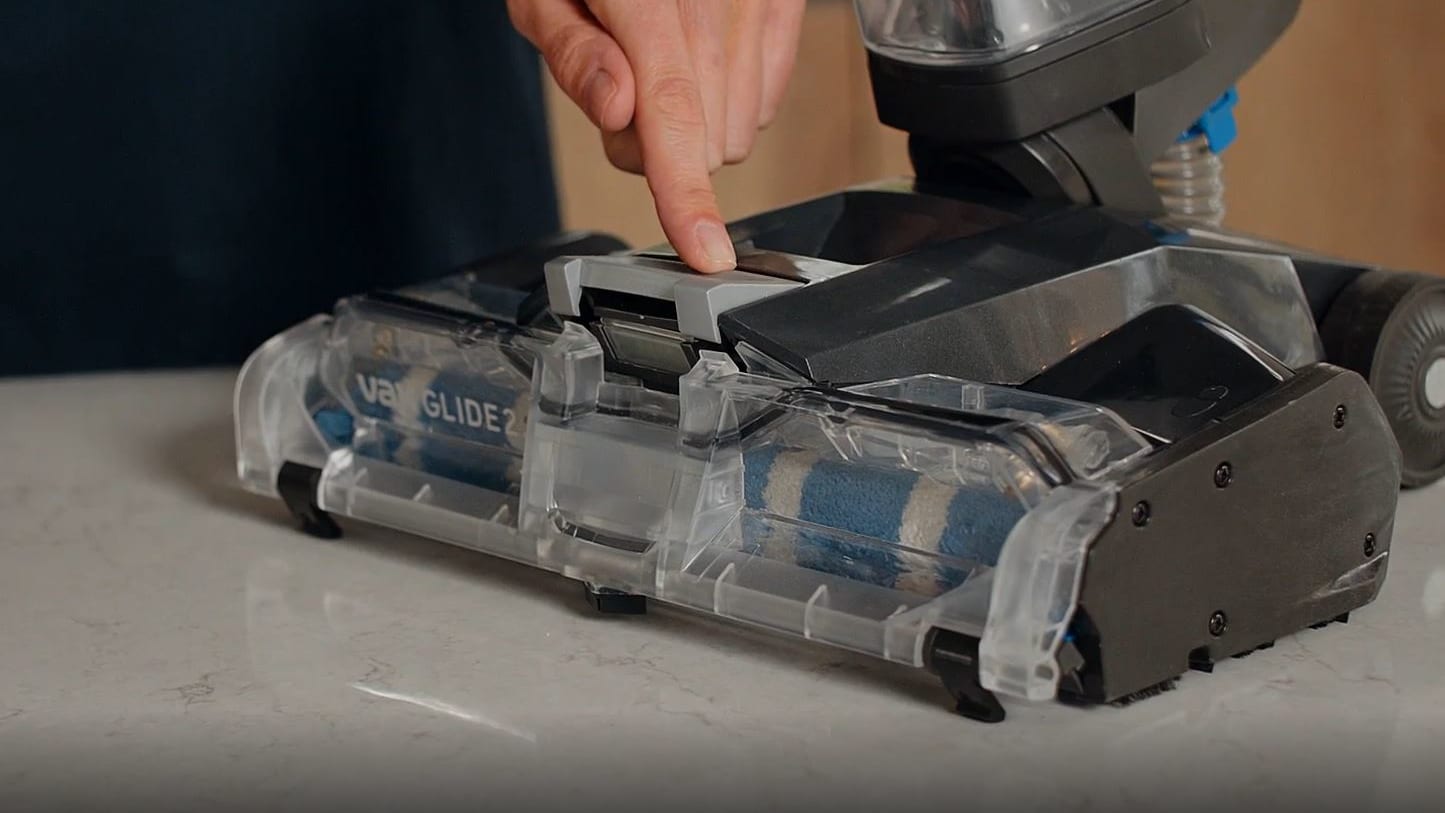
Press the brushroll cover button.
Rotate and lift the brushroll cover up to remove.
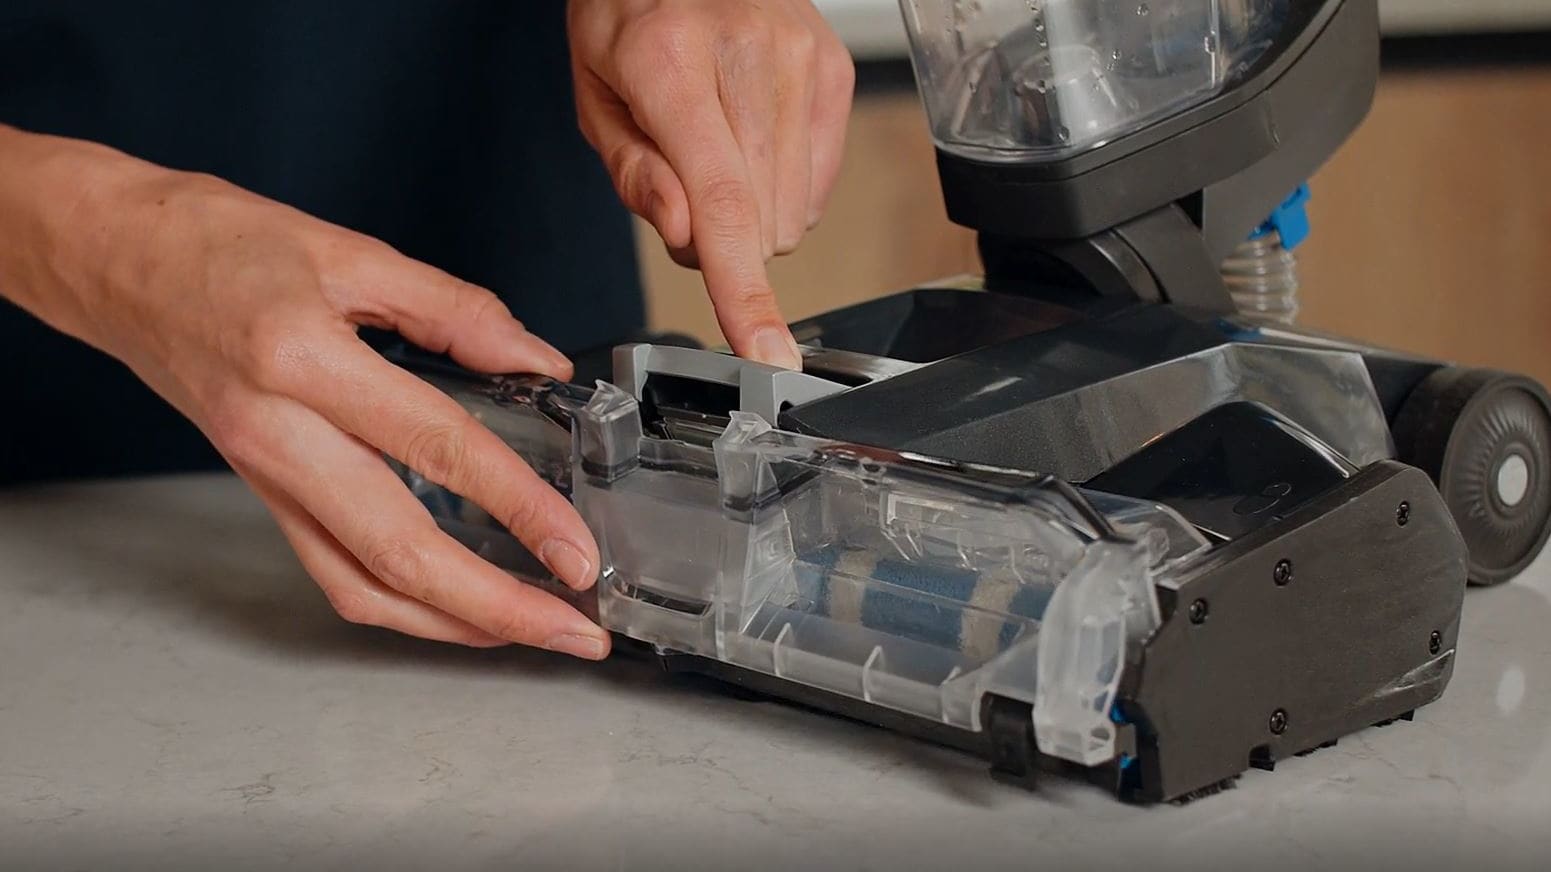
Lift the tab on each brushroll and pull to remove.
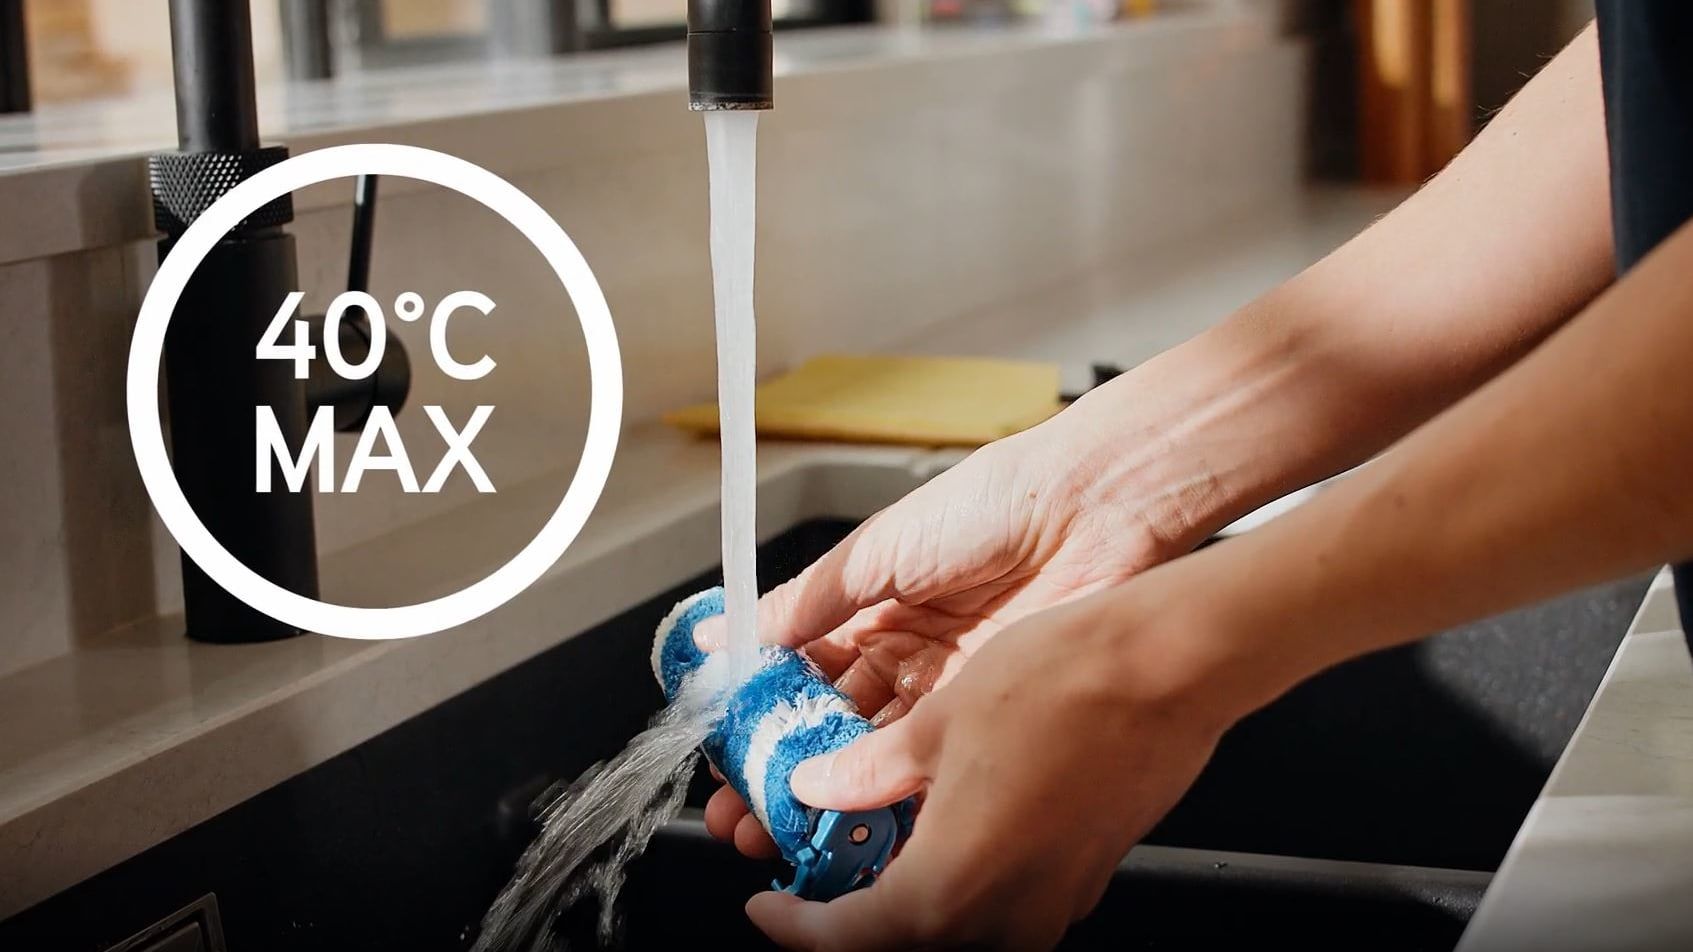
Rinse the brushrolls and brushroll cover in water (40˚C max).
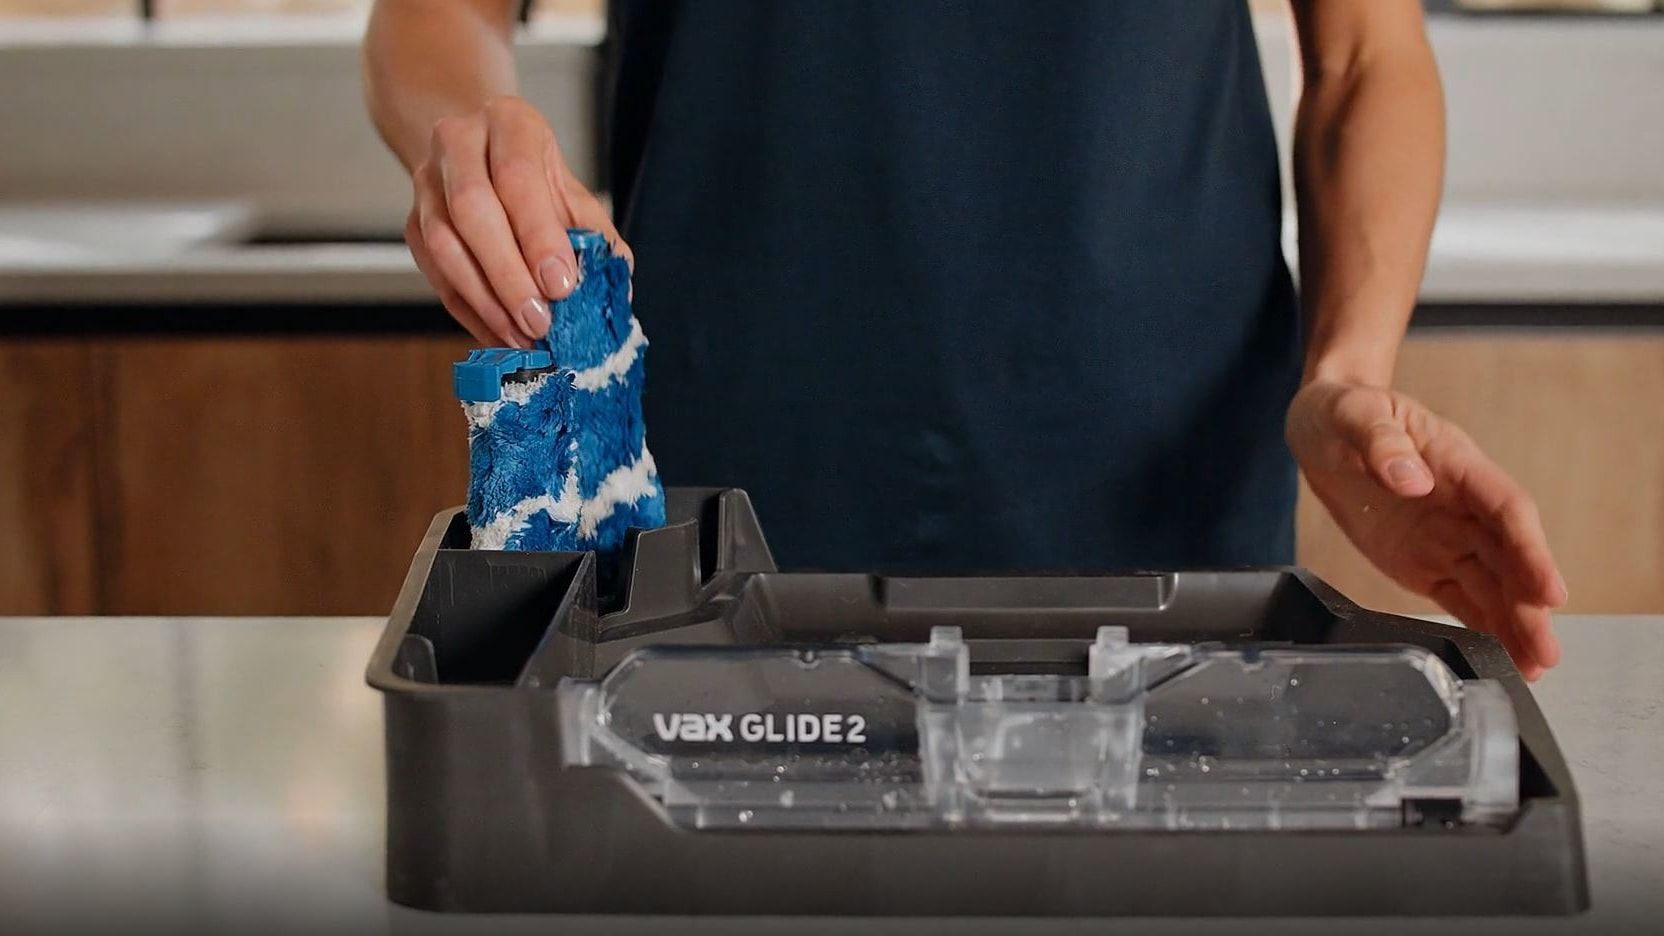
Allow brushrolls to dry in tray storage before refitting.
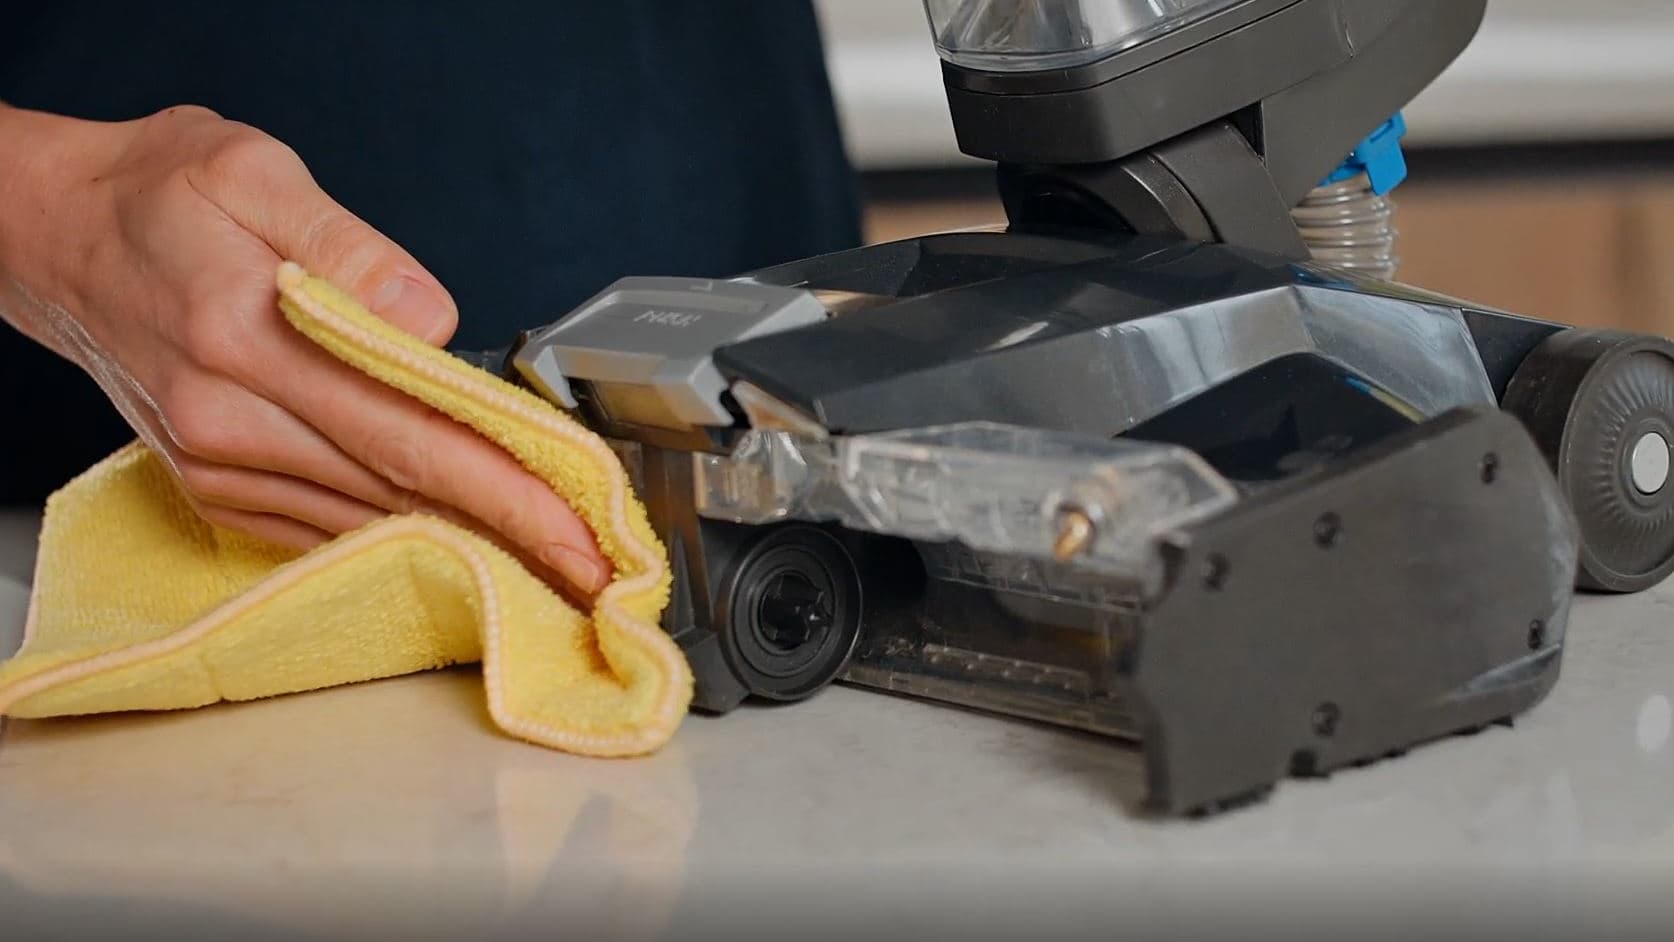
Wipe the cover, squeegee and brushroll housing to remove any dried on dirt and debris.
Removing and cleaning the squeegee assembly

Remove the battery from the machine.

Remove both tanks from the machine.
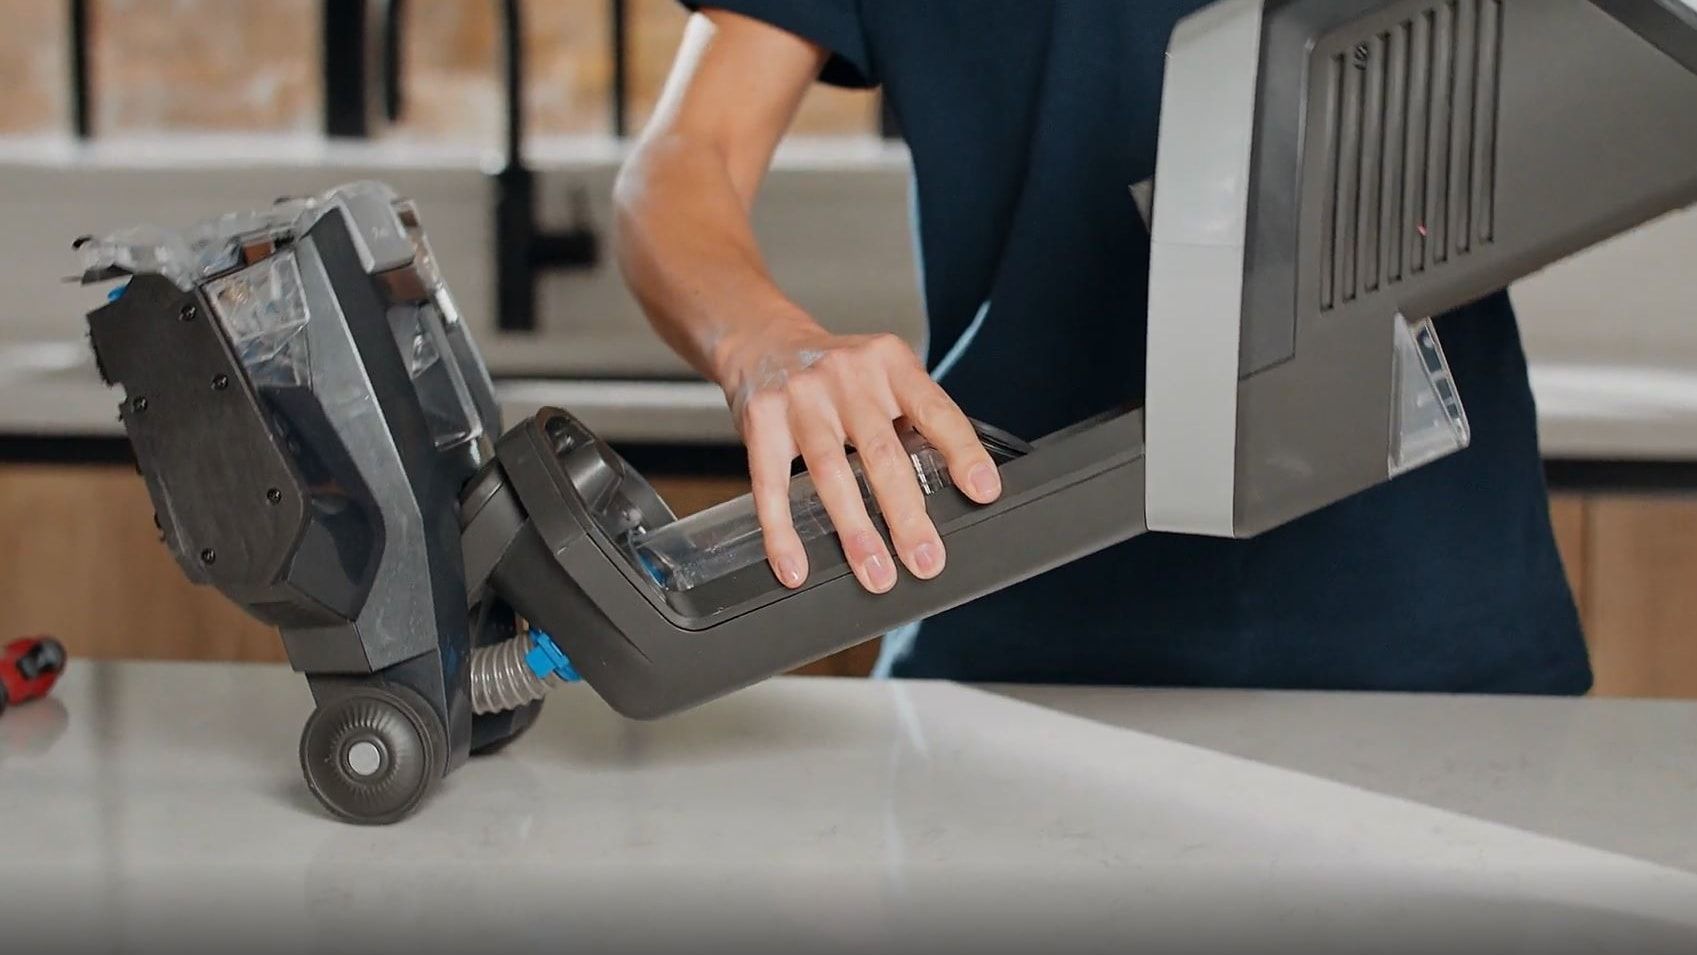
Lie the machine on its back.
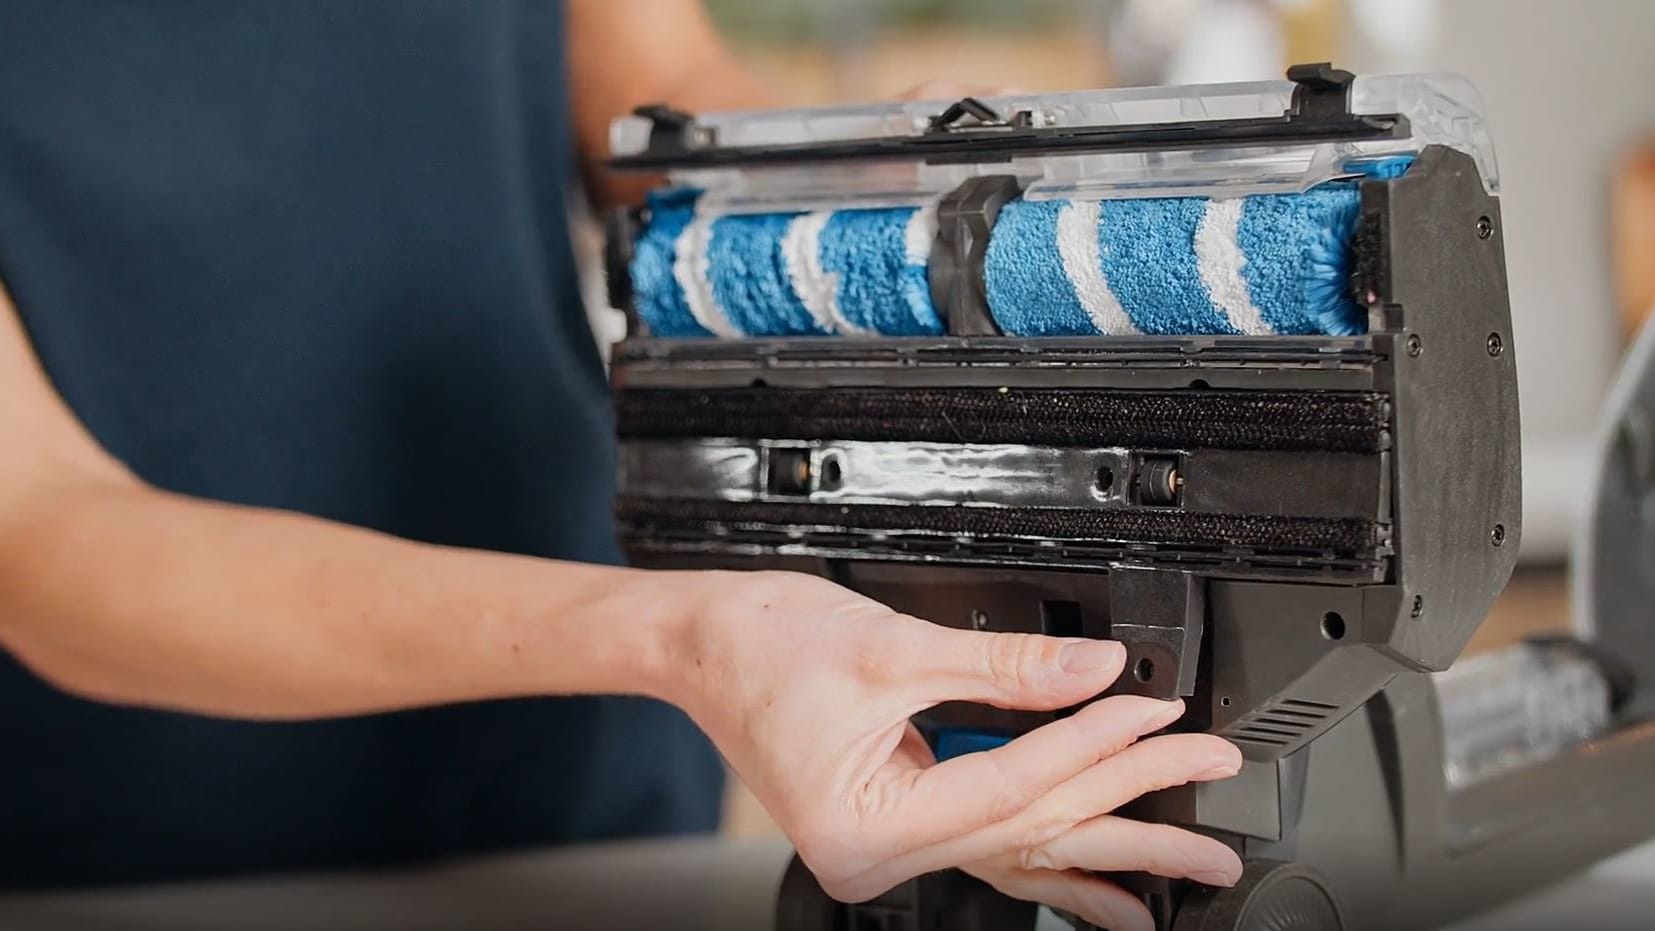
Remove the 4 screws on the base of the machine. Lift the tabs and pull to remove the squeegee assembly.
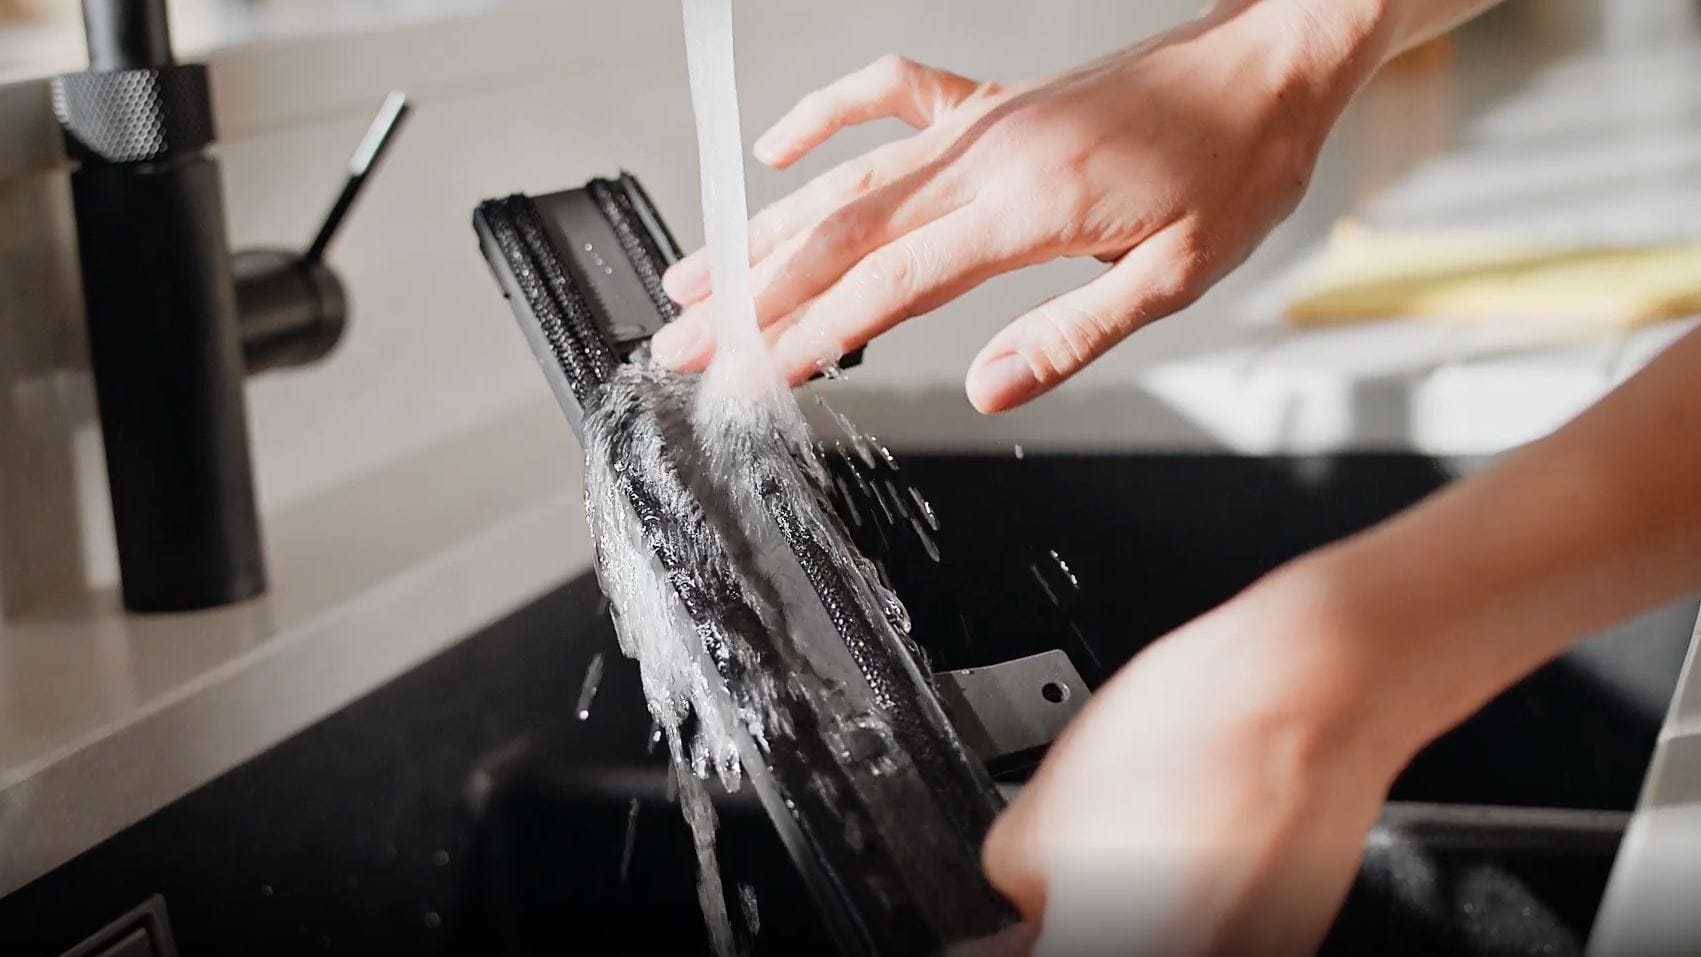
Rinse under water (40˚C max). Wipe the felt strip and squeegee to remove any dried on dirt and debris.
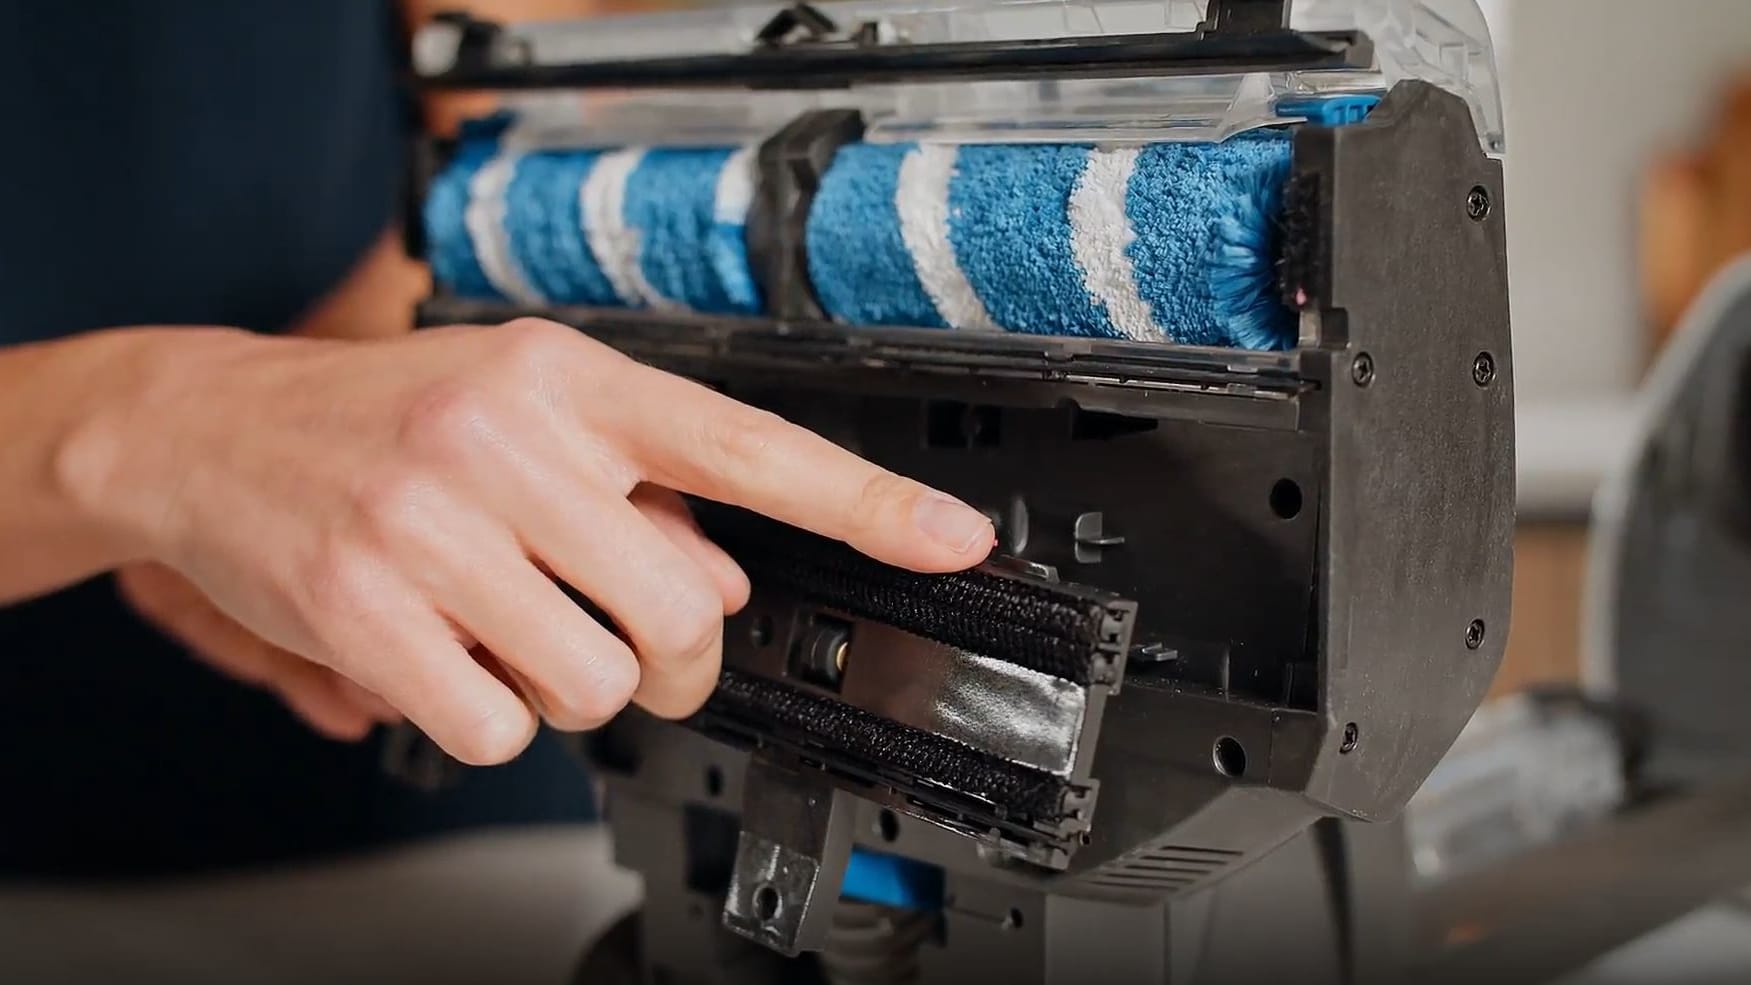
To refit align the tabs on the top of the assembly into the machine and push the lower tabs into place.
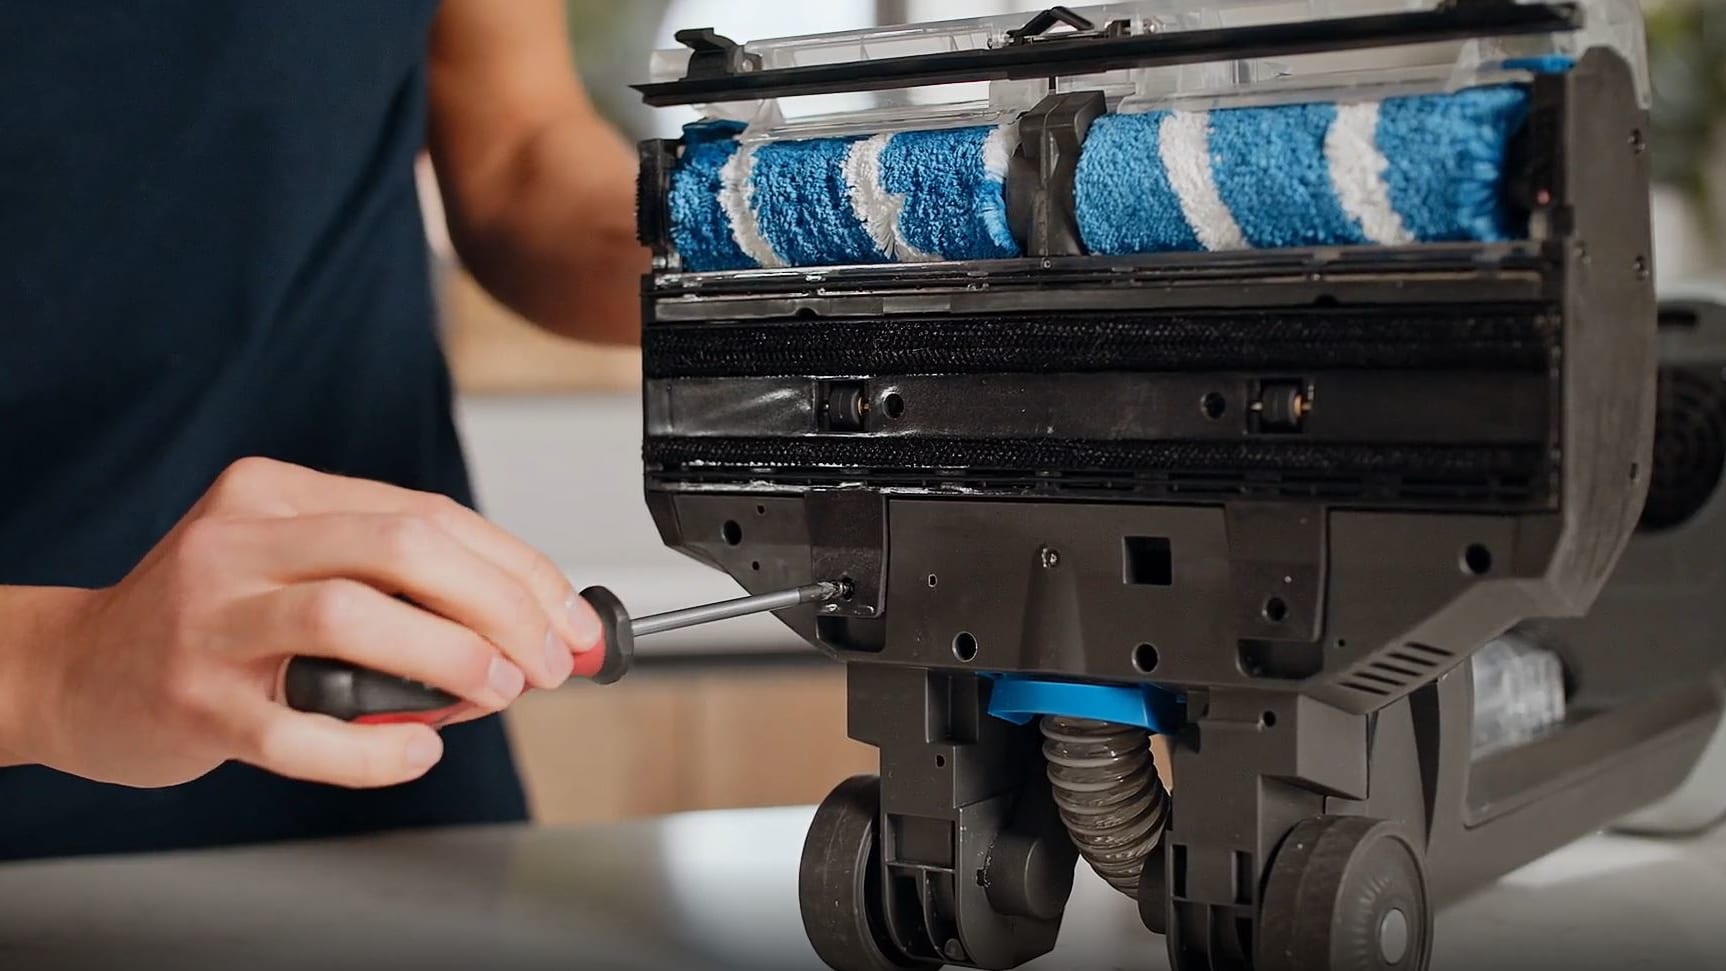
Refit and tighten the 4 screws.
Troubleshooting
Here is what you can do to keep your appliance performing at its best.
Email us
Thank you for your message
Your message has been sent to our customer support team, who will contact you soon
What happens next?
A support request case number will be generated, and you will receive an automated email with the case number and details your original enquiry. Please keep this email safe and use the case number as a reference for any follow up communication regarding this request.
To provide any additional information on your enquiry, you can reply directly to this email and it will get added to your original support enquiry.

